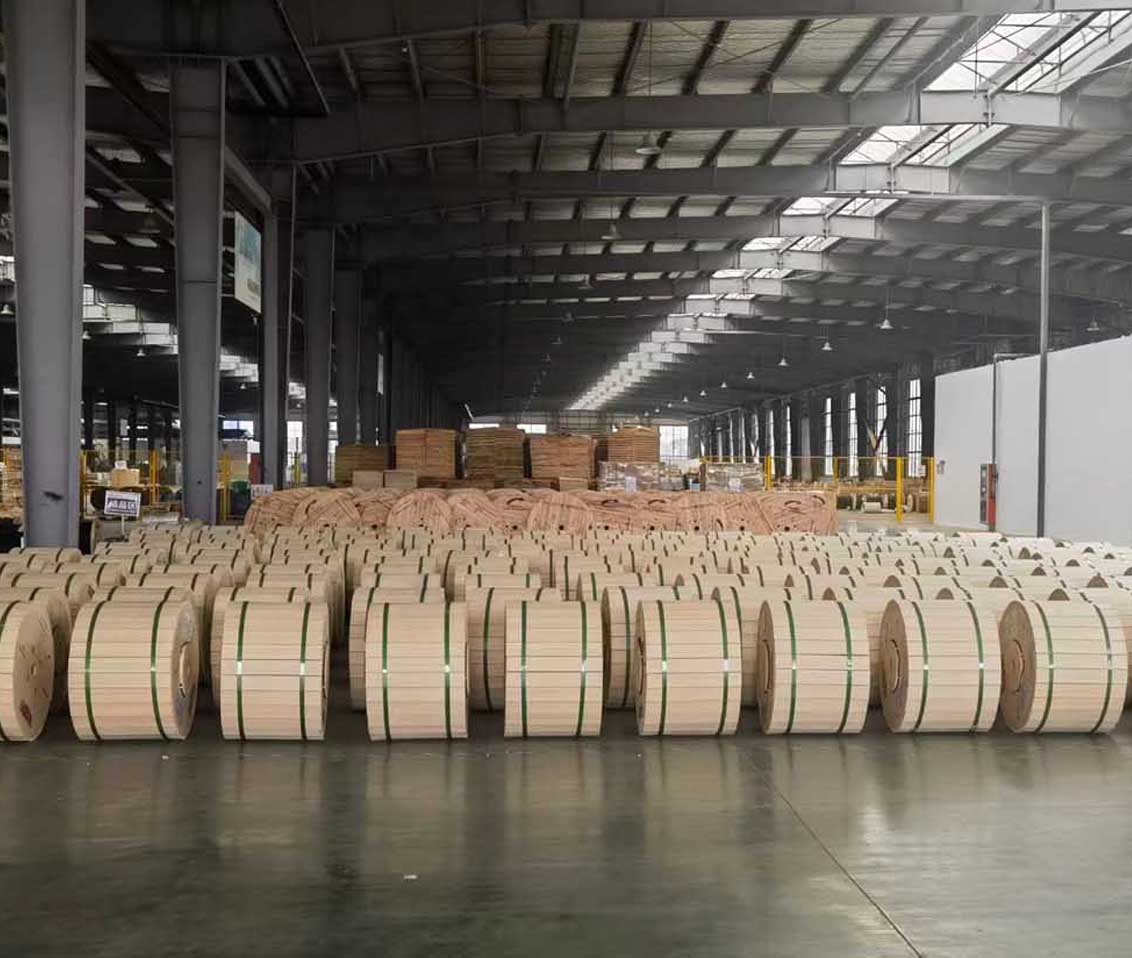
 Optical Fiber
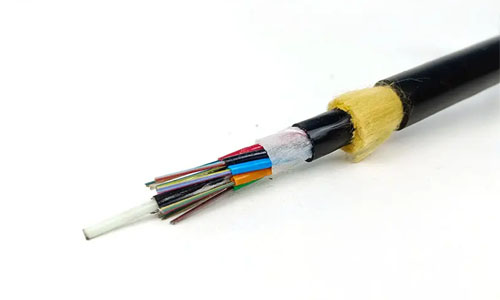 ADSS Fiber Optic Cable
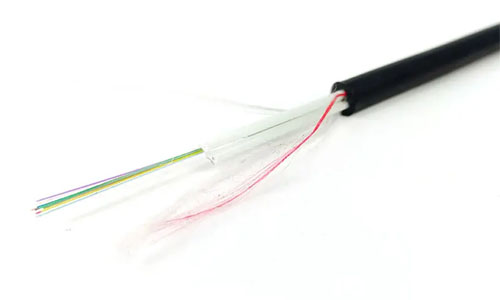 ASU Fiber Optic Cable
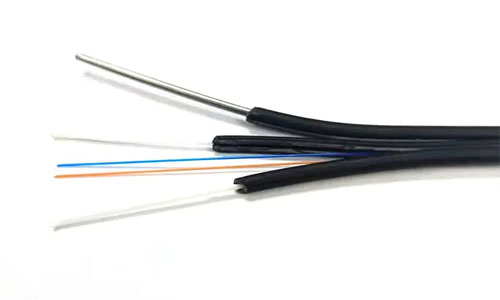 FTTH Fiber Optic Cable
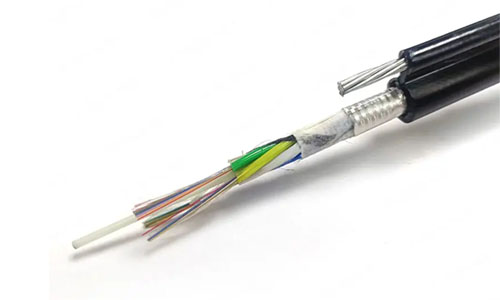 Figure 8 Fiber Optic Cable
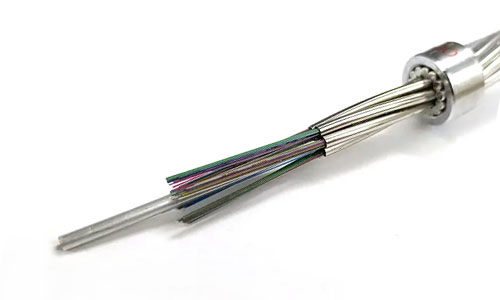 OPGW Fiber Optic Cable
 Coaxial Cable
 Ethernet Cable
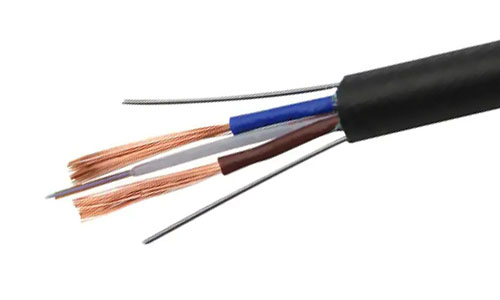 Photoelectric Composite Fiber Optic Cable
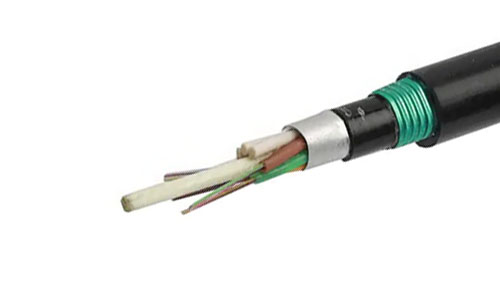 Underground & Pipeline Fiber Optic Cable
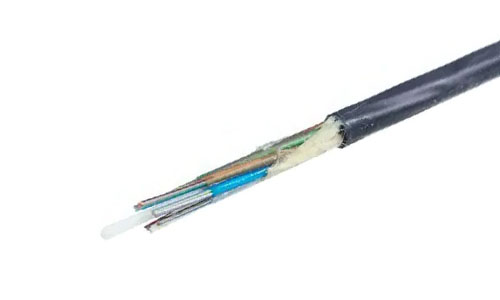 Air-Blown Micro Fiber Optic Cable
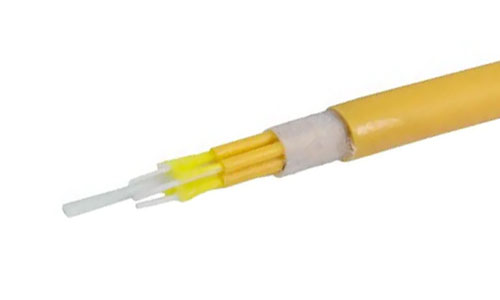 Indoor Fiber Optic Cable
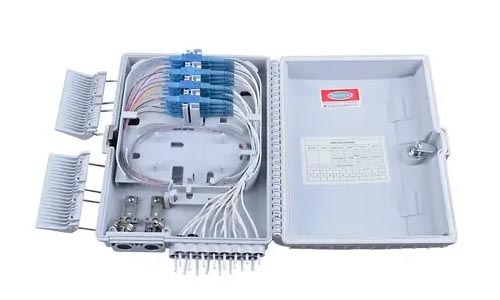 Fiber Optic Distribution Box
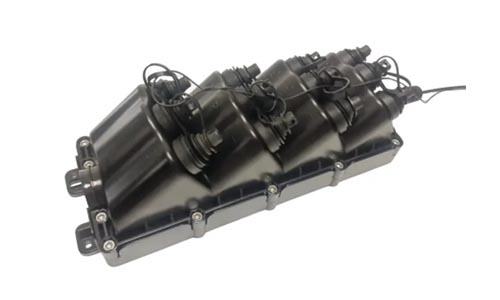 Multiport Service Termina Box
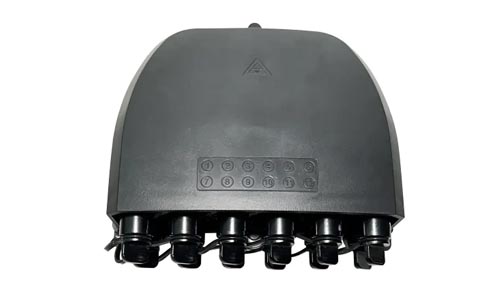 Fiber Optical Terminal Box
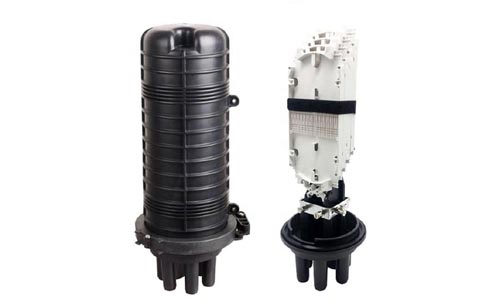 Fiber Optic Splice Closure
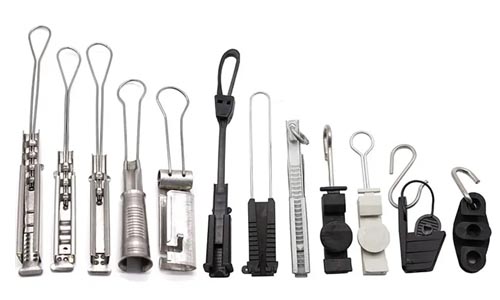 Fiber Optic Clamps
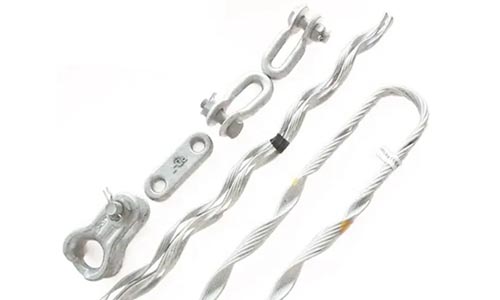 Fiber Optic Cable Fittings
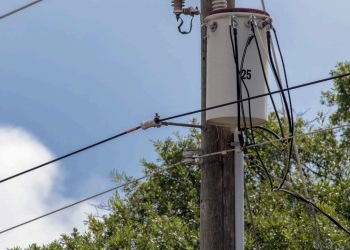 ADSS Fiber Cable
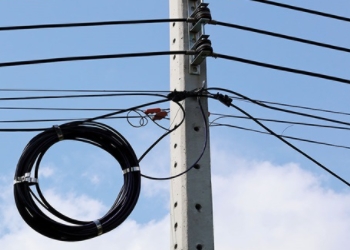 ASU Fiber Cable
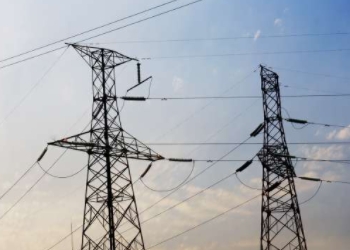 OPGW Fiber Cable
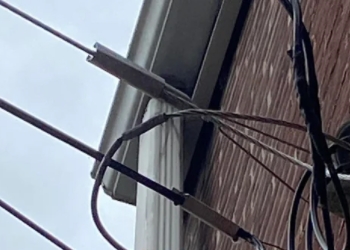 FTTH Fiber Cable
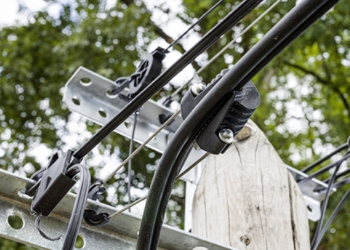 Figure 8 Fiber Cable
 Photoelectric Composite Fiber Cable
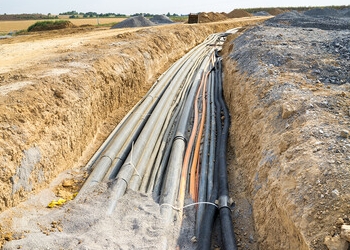 Underground & Pipeline Fiber Cable
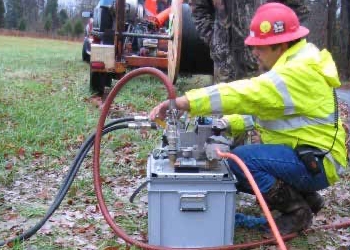 Air-Blown Micro Fiber Cable
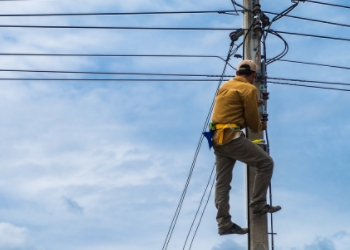 Aerial Fiber Cable
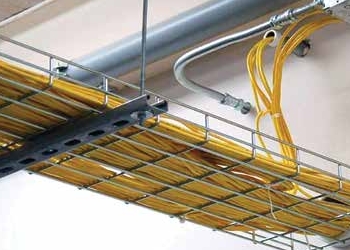 Indoor Fiber Cable
 Fiber Optical Terminal Box
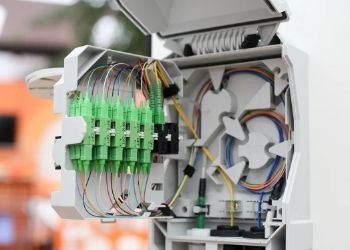 Fiber Optic Distribution Box
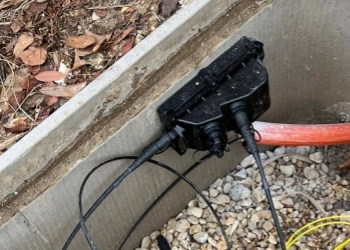 Multiport Service Termina Box
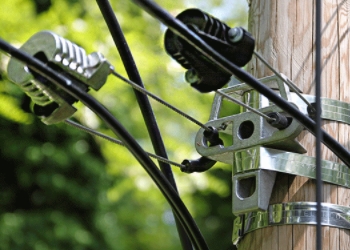 Fiber Optic Clamps
 About Us
 Our Team
 History
 R&D Strength
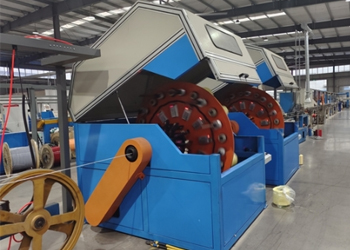 Production Base
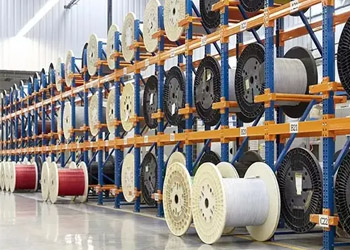 Warehouse & Logistics
 Quality
 FAQs
FAQsKey Differences Between Fiber Optic Termination Box and Fiber Optic Splicing Box
Fiber optic termination boxes and fiber optic splicing boxes perform different tasks in fiber optic networks. Termination boxes provide secure locations where fiber cables terminate and connectors interface, facilitating connection or testing of lines. Splicing boxes contain and protect locations where two fiber strands meet, typically with a splice, to maintain signal integrity and security. Both boxes shield cables and aid in tidy, accessible installations, but each serves an obvious purpose—one for terminating lines, the other for splicing them. Understanding what each box does aids in selecting the right one for a task. The main body will demonstrate real-world applications and advice on how to pick between them.

Termination vs. Splicing Box
Fiber optic networks depend on termination and splicing boxes for robust, high-speed connections. Each box type solves a different problem: how to join, protect, and manage fiber strands so data moves with little loss or trouble. Knowing the difference helps network designers select the ideal solution for their situation.
| Feature | Termination Box | Splicing Box |
|---|---|---|
| Core Function | Connects pigtails to fiber cables; manages jumpers | Joins two cables for longer runs |
| Usability | Supports quick changes, removable connections | Offers permanent, stable fiber joins |
| Efficiency | Good for frequent access and changes | Best for fixed, low-loss, reliable links |
1. Core Function
Termination boxes are the main point to splice fiber pigtails to the main cable. They allow you to plug and unplug jumpers, which is good for locations where you need frequent link changes or testing. Splicing boxes assist with connecting two fiber cables together end-to-end, creating a single long strand. This is essential for long-haul lines or when you have to repair a severed cable. Proper termination leads to less reflection and better data speed. Termination vs. Splicing Box About Splicing, done right, keeps the signal strong by making the join almost as good as a new fiber.
2. Design Philosophy
Termination boxes emphasize easy access and tidy arrangements. They require room for connectors and transparent ports. This configuration implies that installs require more time and expertise. Later modifications are simple. Splicing boxes are generally smaller, with trays for fibers and no connectors. With less bulk, they slide into tight spaces or outdoor nooks. Their design facilitates clean fiber routing and reduced bending, which preserves signal strength. Both must mount to racks, walls, or outside so flexibility is incorporated.
3. Network Role
Termination boxes are like the hub in a wheel: they gather cables, manage jumpers, and let you change things fast. Splicing boxes are more like welders, ensuring each fiber strand remains attached and the connection is robust. Both boxes cooperate on large scale projects, such as a city-wide network, where you require solid, fixed runs along with convenient access points. Network growth needs both: splicing for a stable backbone and termination for user access and moves.
4. Component Use
Termination boxes have adapters, connectors and room for jumpers. These allow you to switch or test lines quickly. Splicing boxes contain trays, sleeves and holders for the spliced fibers. They don’t have connectors, just the glass. Connectors in termination boxes require expertise and time to install. Once in place, they provide versatility. Both boxes employ fiber guides or holders to prevent kinks and tangling.
5. Signal Impact
A good termination box keeps your signal clear and quick. Bad terminations will lead to loss and slowdowns. Splicing, when done well, keeps loss low and quality high. Bad splices create weak links and lead to more repairs. Every box’s install counts for overall network speed and health. Bad work means slow networks and more downtime.

Understanding Termination Boxes
Fiber optic termination refers to finishing a fiber cable with a connector, allowing signals to transmit from the fiber to other network components. This is crucial for a stable and secure connection in any configuration. Termination boxes don’t really transmit data; they’re simply holders or brackets for the couplers, holding fibers in place and protecting them. With various port density options such as 8, 12, 24, and even 96 ports, they’re the ideal choice for applications of all sizes.
Applications
-
Telecom networks use termination boxes to connect outside plant cables to network equipment, allow technicians to interchange connections and repair faults quickly.
-
In your home, a wall-mount box with 1, 2, or 4 ports makes it easy to connect internet and phone lines without clutter. In office buildings, bigger boxes with 24 to 48 ports allow IT teams to manage numerous user connections at a time.
-
Data centers have rack-mount slide-out boxes known as patch panels that sit on 19-inch racks. These boxes contain the splicing, patching, and storage so cable runs are nice and neat and changes are easy.
-
Newer networks utilize them for smart buildings, security systems, and IoT deployments where a large number of devices require quick, secure fiber connections. With more locations turning digital, the demand for managed fiber terminations continues to increase.
Advantages
Termination boxes make fiber links tidy, secure, and visually accessible. They reduce mess and decrease the chances of fractured wiring. With translucent ports and labels, locating the correct cable is quicker. Techs can splice pigtails inside, fuse join jumpers, and cleave patch cords into pigtails to meet bespoke requirements. This configuration enables repairs or equipment upgrades to be fast and downtime minimal. Boxes increase network uptime and make future changes go smoothly.
Limitations
Somewhere there’s no space even for a tiny wall box. Cramped spaces or ancient buildings require inventive installing and that may not fit typical boxes. Large installations that outgrow a 24 port or 48 port box have to add additional boxes or racks, which can become cluttered. Not all of the old systems line up with new boxes, so you may need adapters or new connectors in order to make things fit.
Understanding Splicing Boxes
A fiber optic splicing box is an integral component to today’s network infrastructure. Why? Because it’s a splicing box — its job is to tie two fiber optic cables into a single, longer cable, allowing data to flow with minimal loss. These boxes, known as fiber optic splice boxes, perform fusion splicing to join the minuscule cores within each fiber. This maintains the integrity of the light signals. Pigtails come into play inside many splicing boxes. A pigtail has a connector on one end and bare fiber on the other. The exposed end is welded to the fiber core and the connector clicks into a module or transceiver.
Applications
You utilize splicing boxes wherever you have to connect or branch fiber cables. They appear in metropolitan area telephone exchanges, national fiber-optic networks, and even in local office-building configurations. Their primary role is to distribute, protect, and organize fiber links, particularly at high cable congestion points. In crowded data centers, these boxes enable you to splice multiple fibers together simultaneously, increasing bandwidth and network coverage. They play outdoors as well as indoors. For external work, such as delivering fiber down the block or from one town to another, splicing boxes protect connections from rain, dust, and wind. Indoors, they hang in racks or on walls, protecting splices and organizing fibers. Splicing boxes should be on your radar if you’re doing FTTH or FTTP, where many homes or offices need high-speed, dependable fiber connections.
Advantages
One major advantage is how splicing boxes maintain light signals robust. Fusion splices miter almost perfectly joining fibers, so there’s little signal lost at the splice. The information flows hard and fast, even across great distances. Splicing boxes may contain any type of connector, such as FC, SC, LC, or ST, allowing configuration of all kinds of networks. They make it easy to manage complex cable configurations, available in 4, 12, 24, 48, or even 96 port configurations. The rugged construction of these boxes prolongs the life of your fiber connections, as the delicate splices remain shielded from impact, moisture, and debris.
Limitations
Okay, so splicing boxes aren’t ideal for every task. They’re tricky to set up, as fusion splicing requires experienced hands and specialized equipment. In tight spots or crowded racks, finding the right fiber can be difficult, delaying repairs. Not all splicing boxes are suitable for every network—some kinds only work with specific connectors or cable sizes, which can lead to trouble if you have to upgrade or switch things up down the line. Outdoor boxes require additional attention because the elements or bugs can continue to harm what’s within.
Which Box to Choose
Deciding between a fiber optic termination box and splicing box involves more than selecting a piece of equipment. Your choice of box can determine your network’s performance, growth, and maintenance costs. Elements such as the network configuration, expansion strategy, and environment all influence the decision.
Network Location
Where the network lives can shift it all. In congested city blocks, room is scarce and entry can be a challenge. Choosing which box, a nice compact fiber termination box with a small port count, such as a 12-port wall mount, fits best. Urban installs, too, lean toward rack mount boxes which slip easily into telecom racks.
In the rural areas, networks extend across greater distances with less frequent stops. Fiber splicing boxes excel here due to their capacity to house more cable and provide durable protection for long-haul runs. Rural jobs translate to fewer return visits for fixes, so selecting a box that is both rugged and simple to service can save you hours driving around.
Indoor installs require boxes that fuse with the building and provide convenient access for servicing. Wall mount types are effective. Outdoor configurations require waterproof and dustproof boxes to weather storms, heat, and cold. Boxes with melting points greater than 120 degrees Celsius manage heat waves and protect cables.
Convenience factors in. In locations where it’s difficult to access the box, a model with more ports, for example, a 48-port rack mount, translates into reduced trips to make additions or moves.
Future Needs
Networks don’t remain static for very long. If you plan to add users or devices, make sure you pick a box with empty ports ready for expansion. Termination boxes come in a wide variety of sizes, from 2 ports to 96 ports, so you can buy a box that fits the expected need.
Future-proofing counts. Tech moves quick, and newer fiber types or faster speeds are likely coming. Selecting a box that supports both single-mode and multi-mode fiber provides flexibility down the road. Be on the lookout for sector trends. Greater bandwidth requirements drive others to select splicing boxes that have space for additional cables and are capable of complex splices.
Bandwidth is a big deal as more people require faster speeds. About: Which Box to Choose. More ports lead to more bandwidth, so matching box size to projected growth helps you avoid swaps later.
Environmental Factors
Weather and dust can shorten fiber life. Outdoor boxes have to withstand rain, wind, heat, and freezing cold. Choosing the right box is important. A well-sealed box with a high melting point lets you keep your cables dry and protected.
Humidity and big swings in temperature cause problems. Rust-proof materials that won’t warp in heat or cold are prime choices. Dust is another foe, particularly in dry or windy regions. Dust-proof seals protect fiber ends from being marred by minuscule bits of grit.
If the site is debris-prone, then both splicing and termination boxes require additional attention. It is nice to have one of those boxes that has been tested in some really tough settings, when downtime is expensive.
Installation Best Practices
Installing fiber optic termination and splicing boxes requires care and a strategy. Both require solid prep, the proper equipment and rule-centric attention. This aids in ensuring a robust and durable network. Installation Best Practices… so just do the maker’s guide and local rules.
Preparation
-
Fiber optic cable (single-mode or multi-mode)
-
Termination box or splicing box (with required core count)
-
Cleaver for fiber ends
-
Fiber stripper (cable jacket and buffer, 1.5 cm strip)
-
Fusion splicer or mechanical splicing kit
-
Cleaning alcohol and lint-free wipes
-
Cable ties and labels
-
Screwdriver or mounting kit (wall or 19-inch rack)
-
IP65/IP66-rated enclosure for outdoor use
-
Gloves and safety glasses
Take some time to think about the layout before you get to work. Mark out where boxes go, check wall strength or rack space, and map cable routes. A little planning goes a long way to sidestep cable stress or sharp bends, both of which damage signal integrity.
Use gloves and glasses while cable prepping. Loose glass fibers can be very sharp and difficult to see. Maintain a clean room to reduce dust that can block signals.
Be sure to check local regulations on telecom and network installs. Most locations include safety codes or fire rules that impact where you can run cables and install boxes. Being aware of these regulations can keep the work protected and lawful.
Execution
Installation Best Practices, begin by mounting the termination or splicing box on a wall or 19-inch rack. Ensure it is flush and tight, so it won’t rattle loose. For cable prep, remove 1.5 cm of jacket and buffer, clean and cleave at a 0.4-degree angle.
Fusion splice for even less loss, around 0.06 dB. Mechanical splicing is quicker, but loss can be as high as 0.15 dB. Best practices for installation include anchoring cables immediately to prevent movement and strain.
Teamwork makes the dream work — especially in large installations. One man holds wires and another splices or tests. Open communication among the install team members minimizes errors and keeps the work flowing.
Mark each cable and port when you’re done. That way, you don’t have mix-ups later when you want to scale from 12 to 144 cores. Use IP65 or IP66 boxes if the build is outdoors.
Verification
Be sure to check every connection when you’re done! A speck of dirt or a tiny kink in the cable can shatter the signal.
Test for loss with an OTDR; less than 0.3 dB per port. If loss is high, look for dust, bad splices, or tight bends.
Be on the lookout for loose cables, missing labels, or doors that don’t seal tight. These can allow dust or water inside and break the seal.
Note every step — what splice, what tests, where each cable runs. Installation best practices.
The Hidden Costs
Fiber optic internet sometimes receives accolades for its blazing fast speed and reliability. Termination and splicing boxes associated with fiber installations can get the best of even seasoned professionals. There are upfront costs, effort, and ongoing maintenance. Even if the monthly bill comes down, that initial investment and continued effort can put a big hole in budgets.
| Item | Termination Box | Splicing Box |
|---|---|---|
| Box Cost | $100–$150 for 24-port | $120–$170 for 24-port |
| Labor (per box) | $30–$50 | $40–$60 |
| Accessories | Patch cords, connectors | Splice trays, sleeves |
| Install Time | 20–30 min (12-port) | 30–40 min (12-port) |
| Upkeep | Low, simple swaps | Moderate, needs skilled hands |
Initial Outlay
Termination and splicing boxes aren’t inexpensive. A 24-port setup, labor included, can run around $150 for each type. Its price jumps depending on how many ports you require or if armored cable is included. Standard single-mode fiber runs from $0.09 to $1.49 per foot, and ruggedized fiber costs up to $13.50.
Don’t even forget the extras. Patch cords, trays, and sleeves all add up. For others, buying in bulk or making a vendor deal can save money, particularly on large projects. Accounting for these extras in your budget prevents headaches later on.
Labor Investment
Of course, it’s normally faster to install a termination box, taking 20 to 30 minutes per 12-port box. Splicing requires up to 40 minutes because it involves more meticulous effort. Labor is a big bite of the bill, particularly if you require skilled techs. Trained hands equal fewer mistakes, less downtime, and safer connections.
Training costs can sneak up if your team isn’t experienced. Even post-install, you require skilled people to do testing and tweaks.
Long-Term Upkeep
Maintenance doesn’t cease post-install. Termination boxes are simpler to replace and test, but splicing boxes require more expertise and attention. Routine inspections keep it purring, but repairs such as correcting a faulty splice can have costs piling up in no time.
It’s smart to plan to maintain it over the long term. This implies reserving cash for eventual repair work, replacement parts, and possibly retraining. Consider the total cost of ownership. After a few years, fiber can really pay off through less downtime and faster work.
Conclusion
Fiber optic work requires some savvy selections. Termination boxes are great for configurations that change equipment frequently or require simple testing. Splicing boxes fit locations that require robust, stable connections with less maintenance post-install. Both boxes protect links, but each style suits a different task. Whether it’s big office floors or small server rooms, the right box can save time and reduce errors. Consider how much space you have, how many cables you need to accommodate, and what repairs may arise down the road. Both options determine how fluid your workday is. To maximize your setup, choose the box that fits your actual requirements. Have your own tips or stories to share? Drop ’em below and join the convo.
Frequently Asked Questions
What is the main difference between a fiber optic termination box and a splicing box?
A termination box terminates fiber cables to devices or patch panels, providing convenient access. Fiber optic termination box vs. Fiber optic splicing box.
A splicing box connects two optical fibers, typically for permanent connections.
When should I use a termination box instead of a splicing box?
Go for a termination box where flexible connections and easy maintenance are a necessity. It is perfect for network terminations or distribution points that require flexibility or reconfiguration.
Is a splicing box better for permanent fiber connections?
Sure, a splicing box is ideal for stable, permanent fiber connections. It safeguards the spliced fibers and provides low loss.
Can I install a fiber optic termination or splicing box myself?
Professional installation is advised. With the right tools and skills, you can prevent damage and guarantee your network's reliability.
What are the hidden costs of choosing the wrong box?
Selecting the incorrect box can result in increased maintenance, downtime, and potential network problems. This can lead to more expensive costs down the line in repairs and replacements.
Are there international standards for these fiber optic boxes?
Indeed, international standards like IEC and TIA/EIA inform the design and application of both termination and splicing boxes for safety and interoperability.
How do I know which box suits my project needs?
Consider your network needs. Go with a termination box if you need more flexibility and changes often. A splicing box is for a permanent, high performance connection.