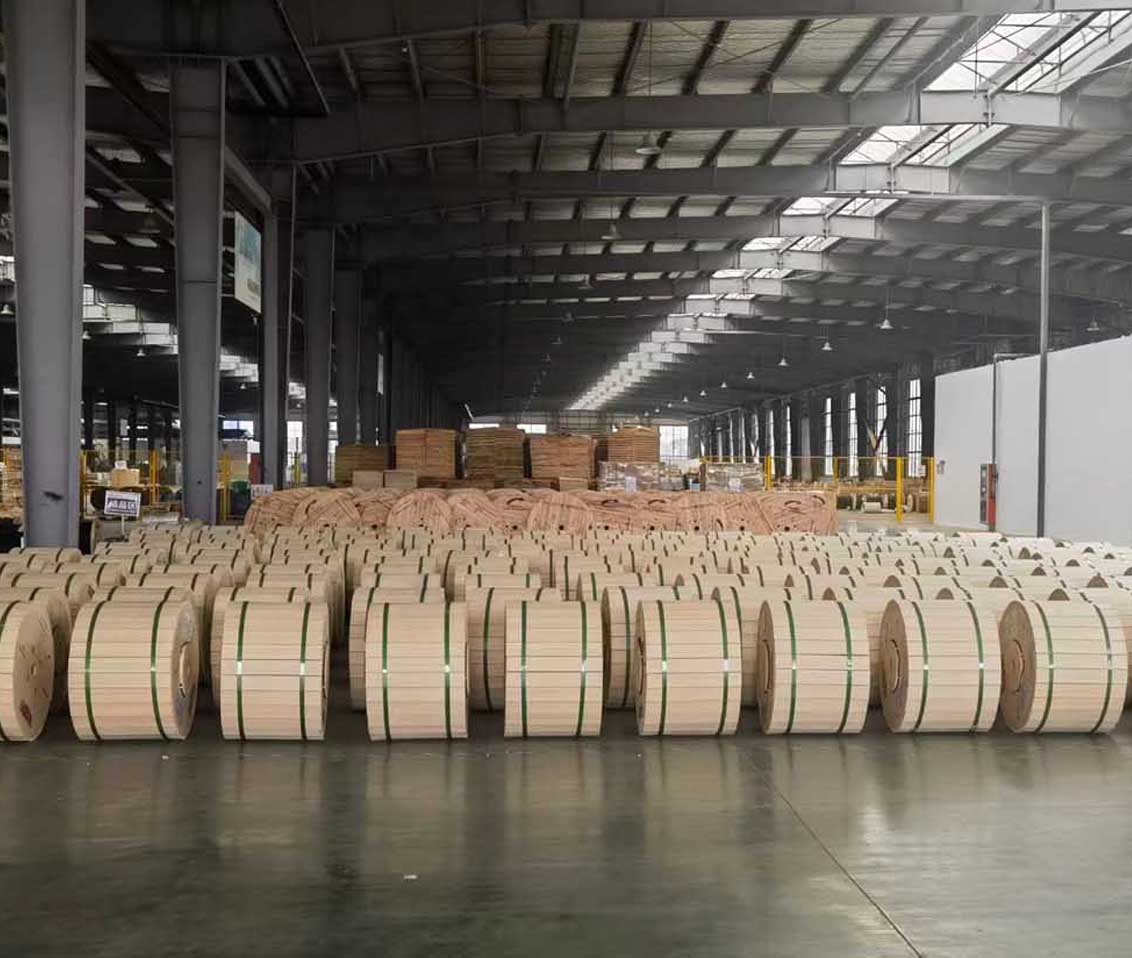
 Optical Fiber
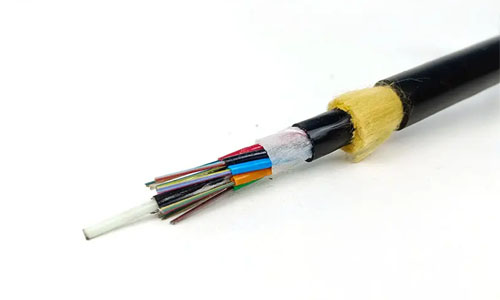 ADSS Fiber Optic Cable
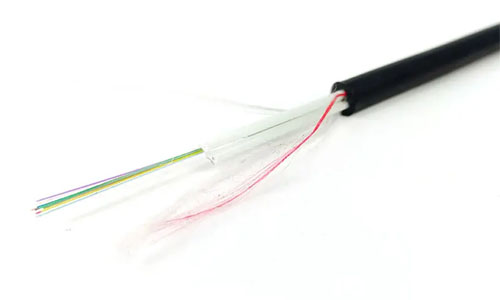 ASU Fiber Optic Cable
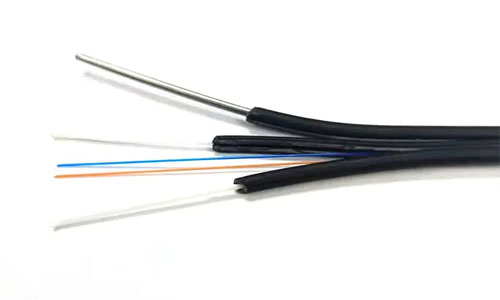 FTTH Fiber Optic Cable
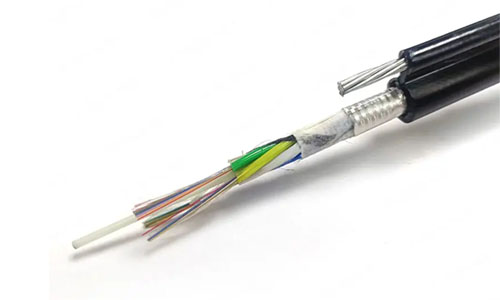 Figure 8 Fiber Optic Cable
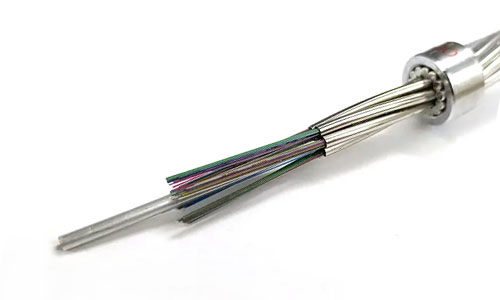 OPGW Fiber Optic Cable
 Coaxial Cable
 Ethernet Cable
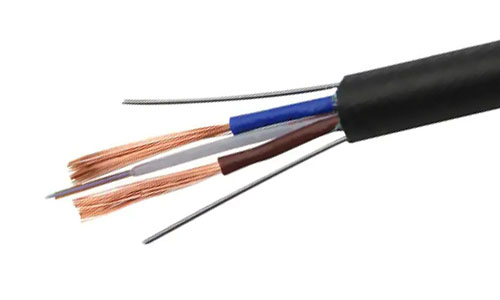 Photoelectric Composite Fiber Optic Cable
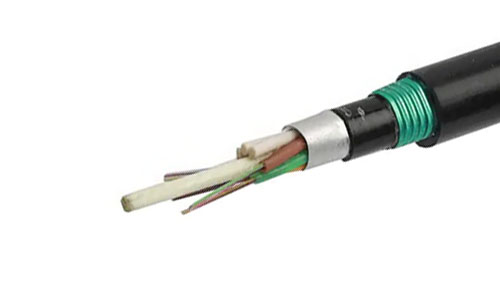 Underground & Pipeline Fiber Optic Cable
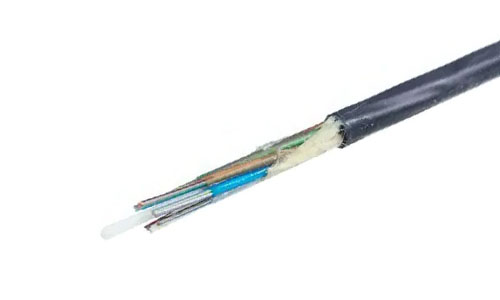 Air-Blown Micro Fiber Optic Cable
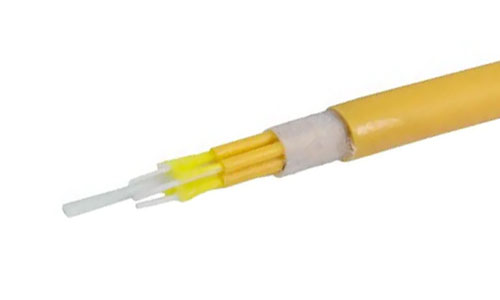 Indoor Fiber Optic Cable
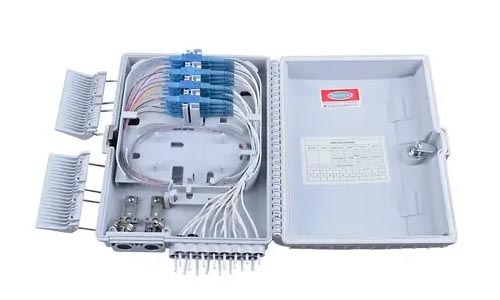 Fiber Optic Distribution Box
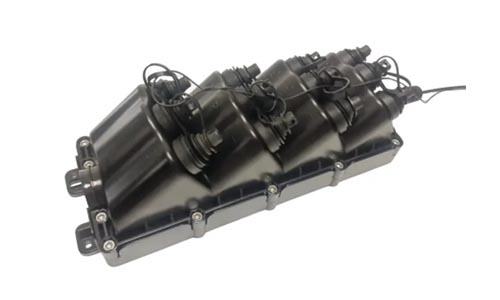 Multiport Service Termina Box
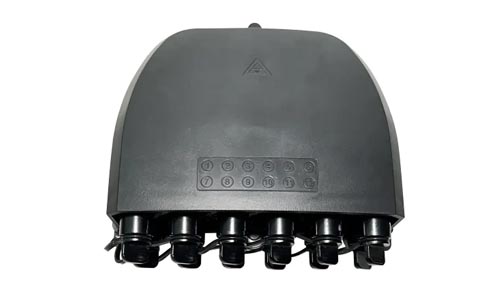 Fiber Optical Terminal Box
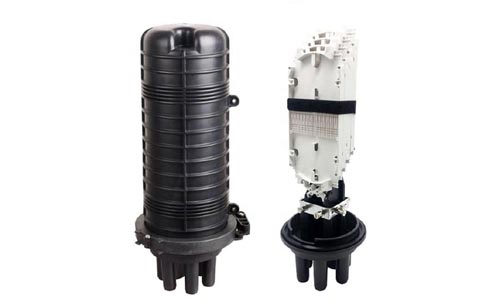 Fiber Optic Splice Closure
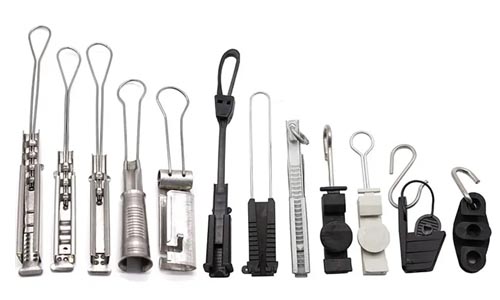 Fiber Optic Clamps
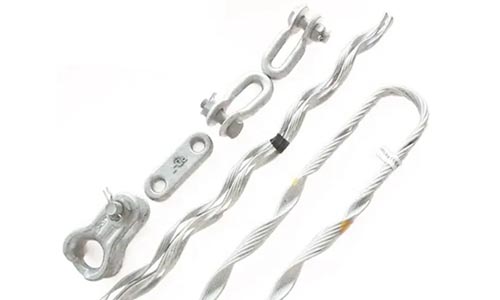 Fiber Optic Cable Fittings
 ADSS Fiber Cable
 ASU Fiber Cable
 OPGW Fiber Cable
 FTTH Fiber Cable
 Figure 8 Fiber Cable
 Photoelectric Composite Fiber Cable
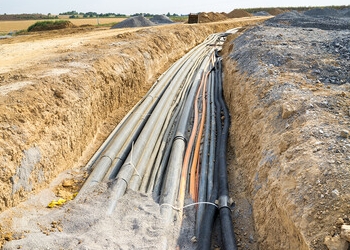 Underground & Pipeline Fiber Cable
 Air-Blown Micro Fiber Cable
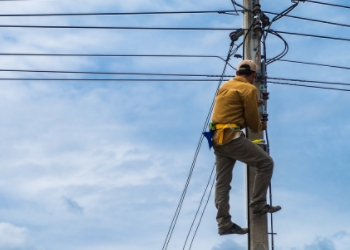 Aerial Fiber Cable
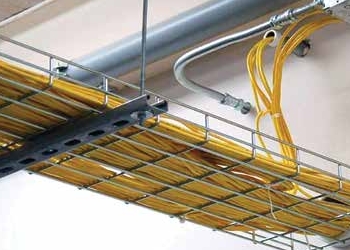 Indoor Fiber Cable
 Fiber Optical Terminal Box
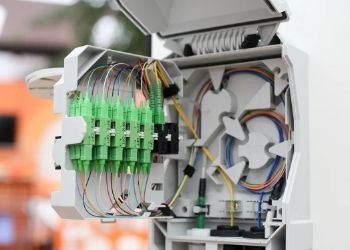 Fiber Optic Distribution Box
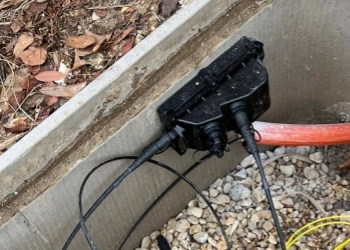 Multiport Service Termina Box
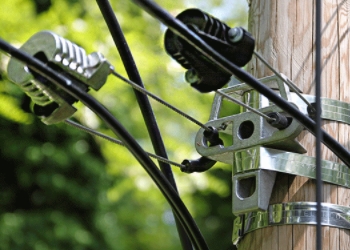 Fiber Optic Clamps
 About Us
 Our Team
 History
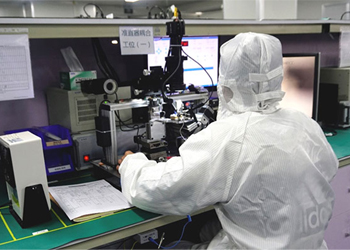 R&D Strength
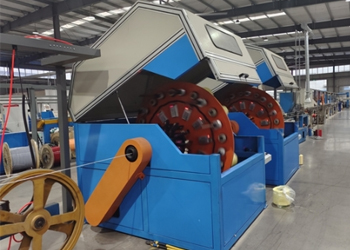 Production Base
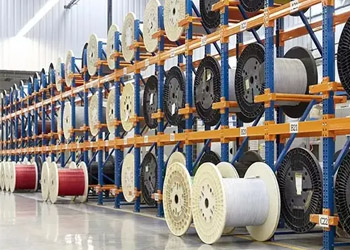 Warehouse & Logistics
 Quality
 FAQs
FAQsHow to Repair a Broken Fiber Optic Cable: A Step-by-Step Guide
Repairing fiber optic cable refers to mending breaks and faults in cables that transmit information as pulses of light. To repair the cable requires special tools and a bit of expertise because the fiber is hair-thin and fragile. The individuals who do this work typically use fusion splicing or mechanical splicing. Repairs may require a fiber optic cleaver, splicing machine and a power meter to verify the effectiveness of the repair. Fiber problems cause web or phone connections to lag or go down, so prompt repair keeps everything running smoothly. Many crews labor in the trenches and in challenging locations, from urban boulevards to remote farms. Knowing the process saves time and stabilizes networks.

Why Fiber Cables Fail
Fiber cables have the allure of quick, reliable connections, but they are not invulnerable to issues such as broken fiber optic cables. Understanding why these fiber breaks occur, often due to human error or environmental forces, enables you to catch issues sooner and extend your fiber optic network’s life.
Common Causes
-
Physical damage is the most common cause of cable breaks. Construction, digging, or road work can sever buried fibers in an instant. Remember why fiber cables fail. In one instance, a French road crew took out the internet to an entire region by slicing right through a main line. Massive disasters such as wildfires or earthquakes may melt, snap, or crush cables irreparably. It gets even more interesting when animals enter the fray. Squirrels, monkeys, and yes, bears have chewed through fiber and brought down unexpected blackouts.
-
Environmental factors eat away at fiber cables as well. Cables subjected to severe heat or cold are prone to cracks and become brittle. Moisture entering joints or connectors gradually corrodes the cable. In humid climates, mold can even grow inside poorly sealed cables and result in signal loss.
-
Manufacturing defects, while uncommon, can be tricky to detect initially. Gaps in the jacket, uneven fiber thickness or faulty connectors all reduce a cable’s life. Sometimes, these problems only appear after the cable is stressed or flexed in the field.
-
Inadequate handling during installation or repairs is yet another culprit. If fiber workers bend cables too tightly or pull hard during installation, fibers can snap or weaken. Calibration errors during installation testing, such as neglecting to verify transmitter and receiver settings, can cause signal loss that is difficult to locate.
Preventive Care
-
Protect cables from digging, weather, and animals with conduits or covers.
-
Train all installers to treat cables with kid gloves. There should be no sharp bends or tight pulls.
-
Verify calibration of transmitters and receivers prior to completing any assignment.
-
Avoid bend radius issues and tension problems during installation.
-
Check cables for wear, especially after a storm or construction activity nearby.
-
Handle signal amplifiers cautiously. Excess power can be damaging.
-
Swap out aged or broken infrastructure before it leads to major outages.
How to Diagnose the Damage
Diagnosing broken fiber optic cable damage begins with a combination of good observation and the proper equipment. Nailing this step translates into quicker fixes and less downtime, ensuring that every vulnerable point, from microscopic scratches to complete fractures, is located to maintain the integrity of fiber optic connections.
Visual Inspection
Start with an eye close to the ground on the cable. Inspect it for cracks, pinches or splits along its length. Any kinks or pinched spots can snap the glass strands inside, which causes network glitches. Sniff around connectors for fraying or discoloration, as both indicate weathering or strain from bad installation.
Cables should not be allowed to dangle or pass over jagged surfaces. If so, write it down. Solid routing keeps that wear at bay. Small sins, like a scuffed sheath or a dusty connector, may appear minor but can degrade the signal. Even a speck of dirt on the fiber end can lead to a huge quality decline.
Fault Locators
Advanced tools assist when the damage eludes the eye. An OTDR shines a pulse of light down the cable, listening for reflections to indicate where the break is located. The distance to fault displays on its readout, so you know exactly where to dig or open a wall. About: Diagnosing the Damage
A visual fault locator (VFL) employs a bright light to identify breaks or misaligned splices. If the cable luminesces red at a particular location, that’s where the trouble is.
Use these readings against your maintenance records. If the cable has a history of high attenuation, re-verify those same areas. A fiber optic tester tests for continuity, signal strength and displays if the line is capable of transmitting data as required. Testing power at each end of the cable can verify if the line is good.
Record every discovery, however minute. Tracking allows you to map out your repair plan and keeps everyone on the same page if you’re dealing with a team or service provider.
The Essential Repair Toolkit
Fixing fiber optic cable demands attention and the proper toolkit. A technician’s kit, often stored in a sturdy, portable case, should have all the basics: fusion splicer, precision cleaver, fiber stripper, buffer tube slitter, visual fault locator (VFL), connector cleaner, and cleaning supplies. These tools are critical for reliable fiber optic services, helping us make repairs expedient and dependable, occasionally reducing the downtime to just a few hours. Quality tools lead to less signal loss and more durable fiber optic connections. Having them stored neatly and at the ready proves invaluable when time is of the essence, particularly in emergency situations.
Splicing Machine
A fusion splicing machine forms robust, near-seamless connections between fiber optic connections, ensuring high performance with very little signal loss, sometimes less than 0.05 dB. Opting for a fiber-works-with-everything model adds versatility to your fiber optic network. Make sure to keep your splicer clean and calibrated, as dirt or bad maintenance can lead to issues like broken fiber. It takes practice to learn to use the machine well, but it rewards you with data flowing with little interruption.
Precision Cleaver
A precision cleaver is essential for achieving perfect right angles on fiber ends, which is critical for clean fiber splicing. Ensure you check the blade before use, as dull blades can chip fibers, complicating the splicing process. Practicing on scrap fibers enhances your skills and confidence. A cleaver with a disposable blade simplifies maintenance, as well-cleaved fibers contribute to reliable fiber optic connections.
Stripping Tools
Stripping tools are essential for preparing fiber optic connections, as they strip the cable’s rugged outer jacket without damaging the fragile glass within. Each tool corresponds to a particular cable size, making it crucial to match the tool to the job for reliable fiber optic services. Following manufacturer instructions is vital, as improper stripping can lead to weak connections or even broken fiber optic cables. Inspecting blades for wear ensures optimal performance, and practicing on dummy cables enhances skills.
Test Equipment
Test equipment such as optical power meters and insertion loss testers ensure your fiber optic connections are repaired as expected. A calibrated power meter tests signal strength, while an insertion loss tester indicates how much light is lost at each splice. Visual fault locators beam a red light to identify any broken fiber or bends. Cleaning connectors before and after testing helps eliminate errors, and saving test results aids in identifying recurring faults over time.
How to Repair Fiber Optic Cable
Fixing fiber optic cables takes caution, the proper equipment, and a smart strategy. Even minor errors can lead to major disasters, such as signal loss or complete failure. Before you begin, assemble safety precautions. Gloves, safety glasses, and a tidy environment are important. Gather all needed tools: cleaver, connectors, fusion splicer, optical power meter, OTDR, VFL, cleaning wipes, and backup supplies. Nice communication with your team keeps everyone on the same page and reduces errors.
Key Steps in Fiber Optic Cable Repair:
-
Isolate and mark the damaged section.
-
Cut and prepare the cable ends.
-
Clean all fiber surfaces carefully.
-
Splice the fiber cores.
-
Test and verify signal quality.
1. Isolate Damage
Spot the break first with VFL or OTDR, which are essential for testing signal integrity in fiber optic connections. These tools pinpoint the broken fiber with precision. Tag it clearly to ensure everyone is aware of the repair need, preventing confusion and inadvertent harm. If immediate repair isn’t possible, consider a temporary solution like a coupler to maintain reliable fiber optic services.
2. Prepare Ends
Slice off the bad part of the broken fiber optic cable with a fiber optic cleaver. This leaves nice, flat ends perfect for fiber splicing. Cut at the proper angle to facilitate light signal flow through the splice. Scrape off any dirt, glass, and dust from the ends to ensure reliable fiber optic connections.
3. Clean Fibers
Clean each fiber optic connection with isopropyl alcohol and lint-free wipes to maintain the integrity of your fiber optic network. Adhering to a rigorous cleaning regimen helps exclude dust or oils, as even small specks can obstruct light signals. Verify both ends and hold them up to light if necessary to ensure they are pristine.
4. Splice Cores
Fusion splicing offers the most robust, lowest-loss connection for fiber optic networks, while mechanical splicing serves as a reliable solution for emergency restoration services. After aligning the fibers, splice them and test the joint immediately with a VFL or power meter to ensure optimal performance.
5. Verify Signal
After splicing the fiber optic connections, test the link with an optical power meter and light source. Compare results to the pre-repair benchmark from your OTDR to address any broken fiber issues, ensuring a solid connection.
Field Repairs vs. Lab Repairs
When it comes to repairing broken fiber optic cables, you have to decide if you want to fix them in the field or ship them to a fully equipped lab. Both routes have their applications, and the optimal solution is often dictated by timing, tooling, and the pressing nature of the issue. Field repairs can begin quickly, sometimes in less than thirty minutes if the broken component is accessible. It’s not uncommon to observe skilled crews field repairing fiber, for instance, in an airplane or remote installation, employing devices such as Visual Fault Locators and Optical Time-Domain Reflectometers. This rapidity is essential when a fiber link has to return to service as quickly as possible. In Mumbai, field repairs occur 24/7. If a storm or construction cuts a cable, waiting days for a full cable swap isn’t feasible.
Quick field expedient fixes can only go so far. Field Repairs vs. Lab Repairs Portable gear doesn’t test for all faults. Repairs may require multiple checks to ensure they adhere to proper standards. Sometimes, field repairs are merely the gateway before a cable is dispatched for lab work later. Lab repairs are slower but penetrate deeper. Cables in the lab undergo rigorous trials, including temperature shocks, humidity variations, chemicals, and vibration. We want to know that the fix isn’t just good for now, but will endure heat, cold, and stress for years. Fusion splicing, the gold standard for joining fiber, occurs in both field and lab repairs, but labs supplement it with more testing.
The trick is understanding when each kind of repair is appropriate. If you want a network backup right now, field repairs win for turnaround speed and immediate access. If a cable supplies a critical site—imagine hospitals, air traffic control—a field repair might get you through until a lab can perform a complete checkup. If it’s got to last and obey stringent regulations, lab work is the safer wager.
| Field Repairs | Lab Repairs | |
|---|---|---|
| Speed | Rapid (as little as 20 minutes) | Slower (hours to days) |
| Equipment | Portable, limited testing | Full, rigorous testing suites |
| When used | Emergencies, hard-to-access sites, 24/7 | Planned, controlled, high standard |
| Quality check | May need later verification | Extensive, meets strict standards |
| Durability | Good, but may vary | Consistently high, long-term |
Beyond the Basics
Fixing broken fiber optic cables is about more than just mending a break. The work requires nimble fingers, a sure wrist, and a good eye for design. This involves more than just the cable itself, including reliable fiber optic services, shifting environments, and continuous maintenance. Every detail, from selecting fiber splicing techniques to removing connector dust, contributes to a more robust and dependable fiber optic network.
Environmental Factors
| Environmental Factor | Impact on Fiber Cable Performance | Example of Damage |
|---|---|---|
| Construction Activity | Physical cuts, crushing, or stretching | Backhoe digging near cable path |
| Freezing Moisture | Causes cracks or weak spots in outer jacket | Water ingress in cold climates |
| Heat | Softens or warps cable sheathing | Sun-exposed rooftop installations |
| Dust/Particulates | Micro contamination, signal loss | Wind-blown dust into connectors |
| Improper Installation | Bends, kinks, or weak connectors | Tight bends around sharp corners |
Protecting cables from stressors, such as broken fiber optic cables, involves employing conduit or armored cable in high-risk areas and keeping cables off the floor. Regular check-ins with temperature and moisture sensors help you catch trouble before it scales. Employees require explicit training on the importance of the environment to maintain procedures during fiber splicing or installation. Even small things like a speck of dust can lead to complete signal loss, so all the details matter.
Common Mistakes
-
Rushing splicing, leading to improper alignment or dirty joints
-
Neglecting to clean connectors with the right supplies
-
Ignoring bend radius guidelines and causing microbends or macrobends
-
Skipping safety gear, risking injury
-
Using mechanical splices in harsh conditions without extra protection
-
Overlooking manufacturer instructions for connectors and cleaning
The majority of fiber optic network failures, around 70 percent, are due to bad connectors. Following maker instructions and using the right cleaning kit, which includes lint-free wipes and 99.9 percent isopropyl alcohol, is crucial for maintaining reliable fiber optic connections. Well-trained fibertechs can identify small fractures before they lead to significant issues, enabling teams to address root causes rather than merely treating symptoms.
Conclusion
Fiber cable repairs may sound hard, with the right equipment and a pair of calm hands, anyone can repair a break. I witnessed a field tech in Casablanca repair fiber, cut and spliced a line under blazing sun in less than an hour, and the internet blinked back to life. Swift mends save time and keep people connected. Good tools assist, but obvious steps count more. Messy jobs lead to slow speed and no signal. Be neat, tape every splice twice, and test lines immediately. Each repair develops mastery, and each mastery leads to less missed calls or lost labor. Need to repair fiber optic cable. Take your kit and try the steps. Tell your stories and tips with others. Robust networks require robust hands.
Frequently Asked Questions
What are common causes of fiber optic cable failure?
Common causes of fiber optic cable damage include bending beyond the minimum bend radius, improper installation, moisture, and physical damage, such as weather and rodent damage.
How can I tell if a fiber optic cable is damaged?
Observe for any apparent cuts or bends in the fiber optic connections. Check the connection with an optical time-domain reflectometer (OTDR) to pinpoint broken fiber or attenuation.
What tools are needed to repair fiber optic cables?
A fiber cleaver, fusion splicer, and reliable fiber optic services such as a fiber stripper, cleaning kit, and OTDR are essential tools for maintaining fiber optic connections.
Can I repair fiber optic cable myself?
Even small fixes, like connector replacement, can be handled by trained fibertechs. Most repairs require special tools and expertise to ensure reliable fiber optic connections.
What is the difference between field and lab fiber optic repairs?
Field repairs are conducted on-site to resolve emergency problems quickly, ensuring reliable fiber optic services. Lab repairs utilize sophisticated equipment for greater accuracy and dependability.
How long does a fiber optic cable repair take?
If it’s a simple repair of a broken fiber optic cable, it can take less than an hour. More extreme damage or fiber splicing can take multiple hours, depending on the repair location and accessibility.
Is it safe to repair fiber optic cables without training?
Heck no. Repairing a broken fiber optic cable without training is dangerous and can exacerbate the damage, leading to costly repairs. Always contact a professional for reliable fiber optic services to ensure the integrity of your connections.