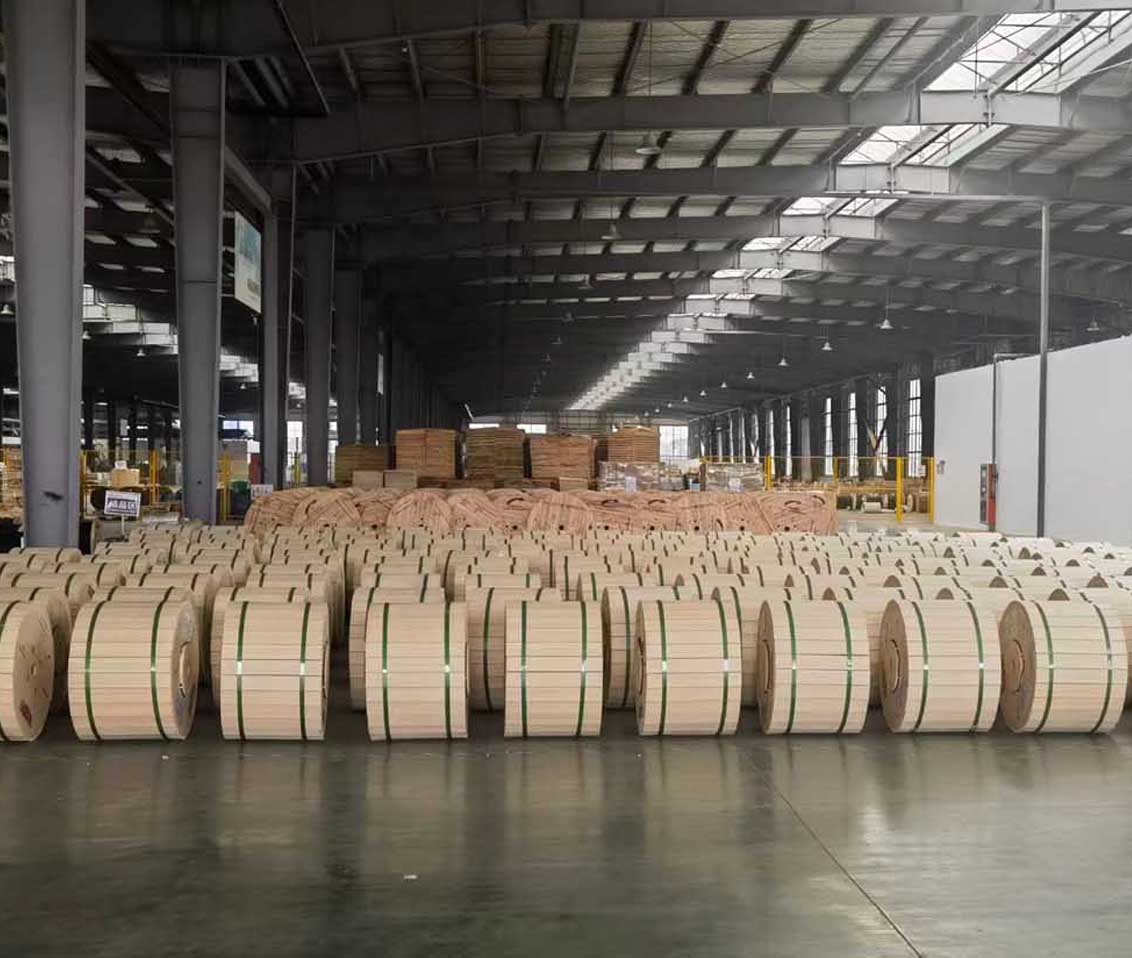
 Optical Fiber
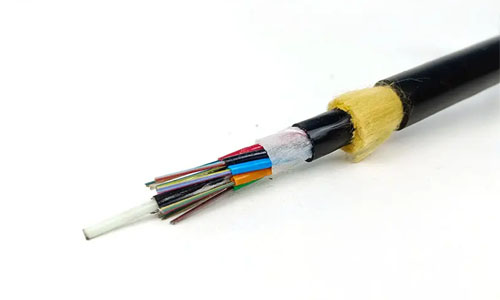 ADSS Fiber Optic Cable
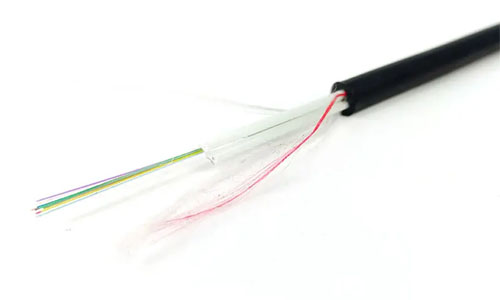 ASU Fiber Optic Cable
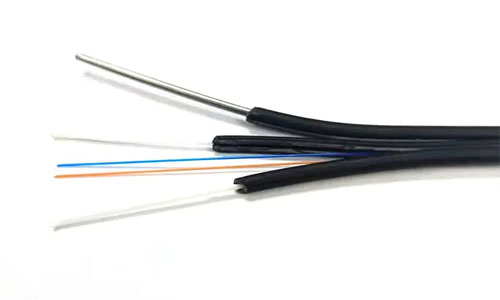 FTTH Fiber Optic Cable
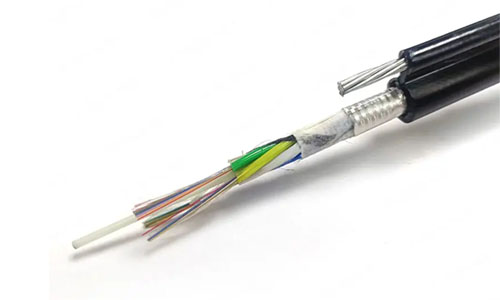 Figure 8 Fiber Optic Cable
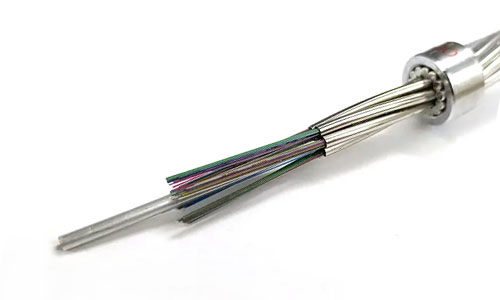 OPGW Fiber Optic Cable
 Coaxial Cable
 Ethernet Cable
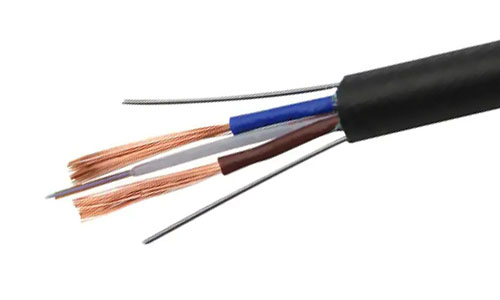 Photoelectric Composite Fiber Optic Cable
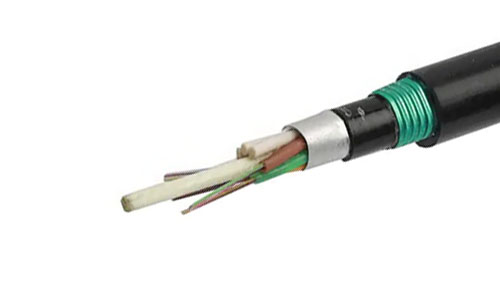 Underground & Pipeline Fiber Optic Cable
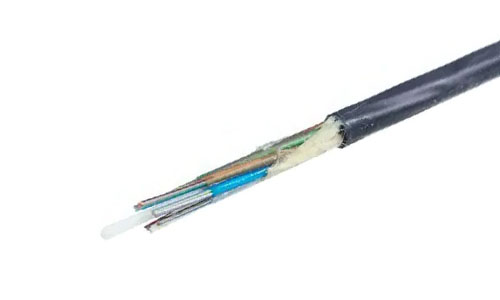 Air-Blown Micro Fiber Optic Cable
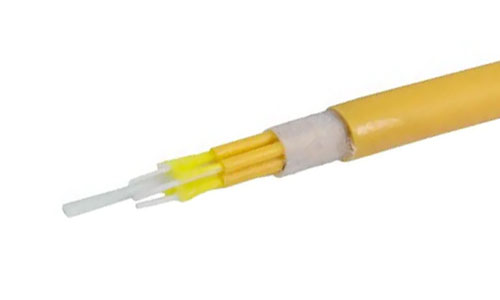 Indoor Fiber Optic Cable
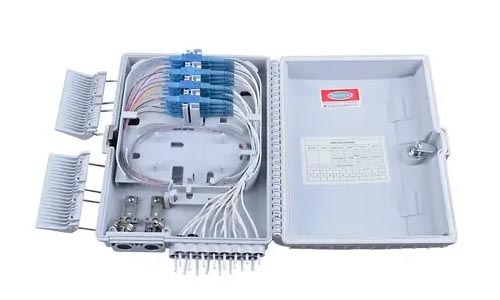 Fiber Optic Distribution Box
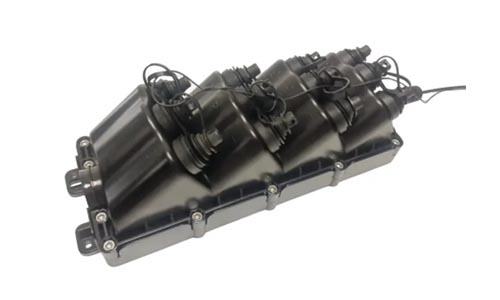 Multiport Service Termina Box
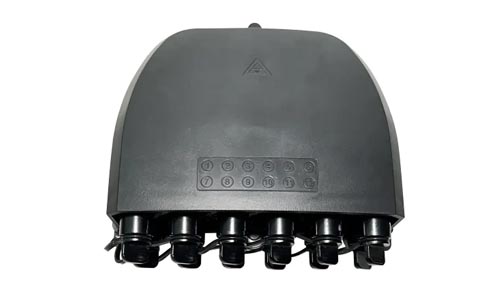 Fiber Optical Terminal Box
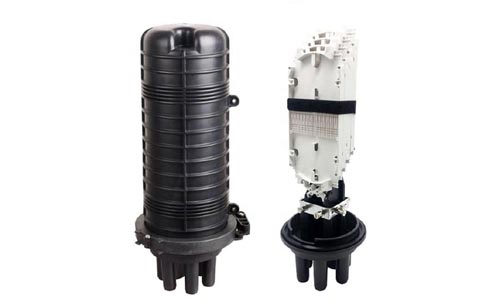 Fiber Optic Splice Closure
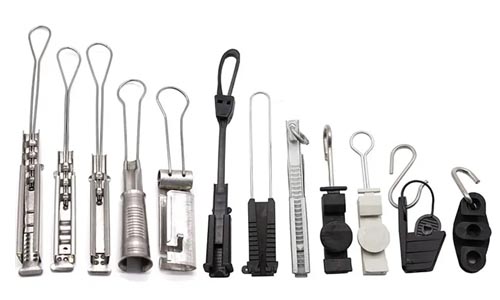 Fiber Optic Clamps
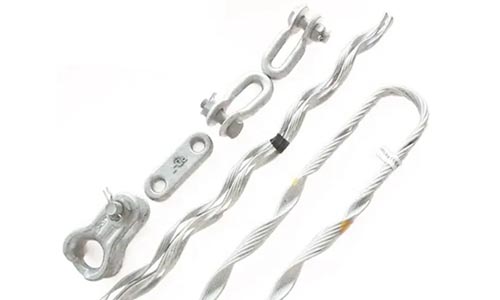 Fiber Optic Cable Fittings
 ADSS Fiber Cable
 ASU Fiber Cable
 OPGW Fiber Cable
 FTTH Fiber Cable
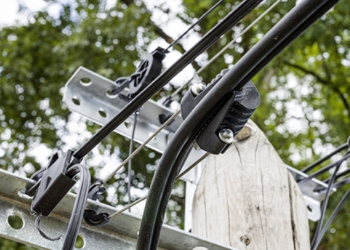 Figure 8 Fiber Cable
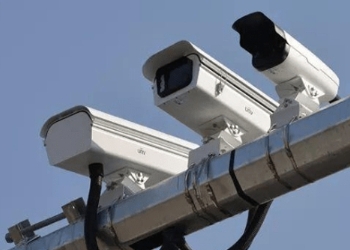 Photoelectric Composite Fiber Cable
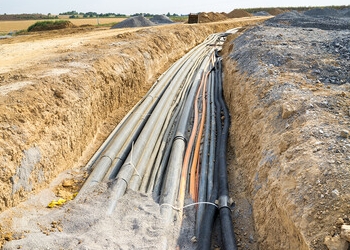 Underground & Pipeline Fiber Cable
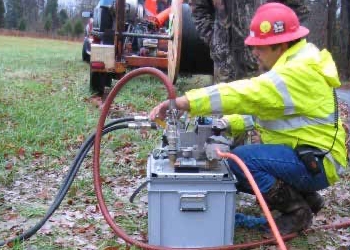 Air-Blown Micro Fiber Cable
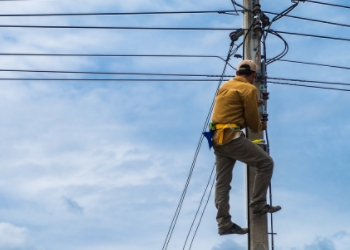 Aerial Fiber Cable
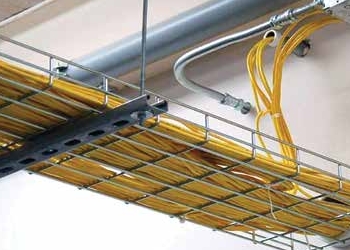 Indoor Fiber Cable
 Fiber Optical Terminal Box
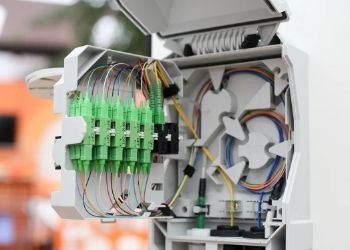 Fiber Optic Distribution Box
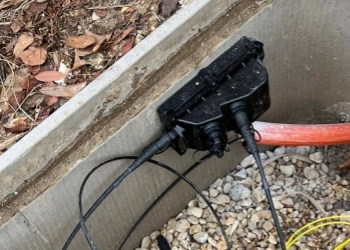 Multiport Service Termina Box
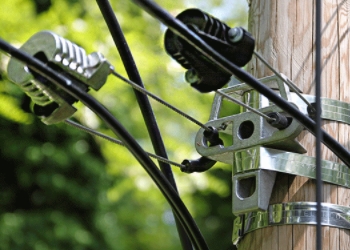 Fiber Optic Clamps
 About Us
 Our Team
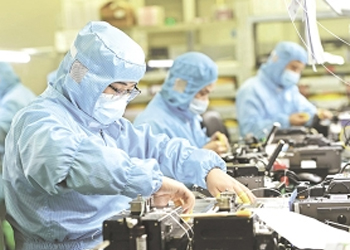 History
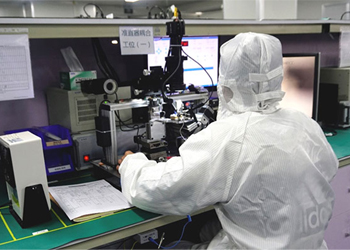 R&D Strength
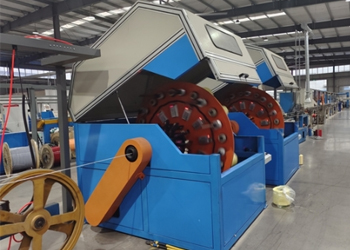 Production Base
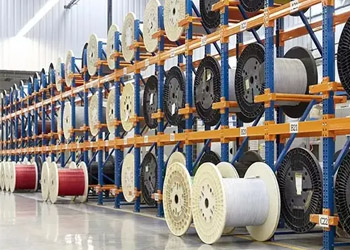 Warehouse & Logistics
 Quality
 FAQs
FAQsHow to Properly Install Fiber Optic Cable?
Contact for Free Quotation & Sample, According to your needs, customize for you.
inquiry nowHow to Properly Install Fiber Optic Cable?
In order to install fiber optic cable properly, workers need to have the proper equipment on hand. In addition, they must take safety measures and explicitly outline the cable’s route. Fiber optic cables provide the fastest and most reliable internet.
Which is why, when it comes to American homes and offices, proper installation is everything. When you deploy cables, it’s usually by pulling them through walls or underground pipes. You’re trying to avoid sharp bends in the cables themselves which can completely lose a signal.
Workers in the States generally make do with hand tools, fish tapes and cable pullers. Wearing gloves and safety glasses in the field goes a long way toward preventing injury. Ensuring that cable ends are properly cleaned and cleaved is critical to providing a clear path for data to travel.
The following sections outline proven steps and practical advice. Perhaps most importantly, they lay out in plain terms how anyone in the States can install fiber optic cable the right way.

Why Proper Fiber Installation Matters?
In Marrakech, the unique natural terrain and regional climate pose a distinct challenge for installing fiber optic cables. Whether fiber or copper, getting the installation right from the start goes a long way. A properly functioning network stands the test of time.
It will prevent headaches from damage and it saves you money on repairs in the near- and long-term. Here’s why that is significant.
Ensure Peak Network Performance
When installers follow rigorous best practices, fiber cables are able to convey data quickly and seamlessly. Adopting proper methods of installing fibers, such as pulling instead of pushing cables, helps protect the glass within.
This reduces signal loss and maintains maximum speeds for all users on the network. Solid connections at every splice ensure the data keeps moving, even at peak times.
In Marrakech, severe dust storms and intense heat pose serious threats to sensitive equipment. Proper protection with flexible innerduct protects the cable and maintains a healthy network.
Maximize Cable Lifespan
A cable installation should last, not just function for a single football season. When crews use strong, weather-ready materials and follow the maker’s rules, cables can handle local heat and the odd jolt from shifting ground.
If bends are kept gentle and twists or kinks are avoided, it protects from the chance of breaks. Routine inspections and maintenance ensure that minor issues don’t escalate into major replacements.
Avoid Costly Future Repairs
A quick and cheap installation can do more harm than good – mistakes are expensive. Incorporating the right tools and documenting every procedure along the way aids teams to identify vulnerabilities in the future.
Providing proper training to staff to identify issues before they escalate can lead to fewer outages and saves valuable staff time. Having a proper installation also allows for easier identification of one cable from another, making troubleshooting faster and safer.
Maintain Network Reliability
Periodic inspections and real-time monitoring of network performance allow you to proactively address potential issues. By keeping redundant lines on hand, you’re providing consistent service, even when disasters occur.
Giving users simple lessons, such as not bending cables, can make the entire network more reliable.
Understand Fiber Optic Cable Types
If you’re new to planning a fiber optic cable install, the options can be overwhelming. Each cable type plays a unique role. When it comes to fiber optic types, the distinction between single-mode and multi-mode fiber is most important. Each has specific characteristics that suit various applications.
The cable’s jacket and core, as well as its outer diameter all factor into its performance. Morocco’s largely desert climate has a major effect on building. For example, the intense dry heat and risk of sandstorms in Marrakech, Morocco, dictate the most effective construction techniques.
Single-Mode Fiber Explained
Single-mode fiber is the clear choice when you need to transmit data over long distances. Its narrow core diameter, typically 9/125 microns, allows the light to move in a single line. That means lower loss and greater reach, often exceeding 60 miles.
Telecom operators tend to deploy single-mode for backbone networks that connect data centers in different cities or metro areas. These cables are typically 0.9mm or 2.0mm in diameter and are ideal for use in more stable, controlled environments.
In return, you receive high speed and low signal loss, but they are more expensive than multi-mode fiber.
Multi-Mode Fiber Differences
Multi-mode fiber has a larger core—50/125 or 62.5/125 microns. That allows light to reflect in all different kinds of routes. That’s not a huge deal since it’s ideal for shorter runs, such as inside a building.
Options go from OM1 to OM5. OM3 and OM4 are capable of supporting speeds up to 10Gbps over decent stretches. Multi-mode is less expensive and easier to handle, but not for extended runs.
US Cable Jacket Ratings (Plenum/Riser)
Cable jackets are essential for fire safety. US jacket ratings dictate that plenum cables run through air ducts. Riser cables accommodate vertical conduits. In the U.S., code dictates where each type belongs.
Use the wrong one and you risk millions of dollars in fines and lost lives. If your site has very stringent fire regulations, always look for LSZH or RoHS markings.
Choosing Cable for Your Environment
Consider your environment when choosing cable. Outdoor cables require armor against abrasive dust and UV exposure, while indoor cables need to be flexible enough to navigate dense spaces.
If you are in Marrakech, opt for jackets that can withstand high temperatures and hot air. For jagged terrain or urban areas, armored cables protect your fiber runs.
Plan Your Fiber Installation Project
A well-developed plan goes a long way toward ensuring a successful fiber optic cable installation project. Few people understand the cost of fiber cable installation. On average.
No one—especially those who wish to rein in costs—can afford to skip planning. Most importantly, it saves you from a lot of headache in the long run. Develop an overall project timeline. This should include all aspects—from pulling cable to installing it and connecting/terminating it.
Put down on paper—or in a spreadsheet—who’s responsible for what, when, and with which equipment. Maximize stakeholder buy-in by bringing them in early, as well. This ensures all parties remain aligned, assists in identifying potential issues, and saves time if there is a change of plans.
Conduct Thorough Site Surveys
Conduct an on-foot examination to check for buried infrastructure, rocks, and/or power lines. These challenges may impede or delay the installation. Illustrate existing infrastructure.
Review applicable local ordinances, as many municipalities have developed rigid codes dictating the appearance and installation requirements for fiber cable. Take notes on what you discover so the installation team can be prepared for what’s ahead.
Map Your Cable Route Carefully
Map out a fiber cable route that avoids sharp bends, as acute angles can damage the cable’s speed and longevity. Consider investing in or using existing mapping tools to plan your route.
It’s always best to plan for future growth, so allow space for additional cable when possible. Identify the route clearly and definitively so that the installation crew can easily identify where to dig or string.
Select Appropriate Materials
Select Suitable Products. Choose fiber appropriate to the application—single-mode for long runs, multi-mode for shorter areas. Sure, higher-strand cables are more expensive, but they can carry exponentially more data.
Verify connectors and splices are compatible, with variants such as SC, LC, or ST. Purchase from reputable suppliers to steer clear of low-quality cable that will fail prematurely.
Check Local US Permit Needs
Research local regulations and obtain all required permits before proceeding. Communicate with city staff though if regulations are unclear or if you are unsure what applies.
Have permits available to present if someone asks about them down the line.
Think About Future Network Growth
Prepare the installation to accommodate future network expansion. Retain title ENDIT produced by generic AI.
Communicate with stakeholders regarding what’s happening next, so the installation doesn’t create hurdles in the future.
Gather Essential Tools and Equipment
Fiber optic cable installation has a reputation for being an extremely technical and detail-oriented process. In order to set yourself up for success, begin by collecting the right tools and equipment. Get it all ready before you put one fiber into the Earth or hang one on a pole.
Every stage of the installation process relies on specialized equipment. This starts with excavating the first trench and concludes with verifying the last connection. The selection of tools is largely dependent on the cable design, complexity of the project, and local codes.
In the U.S., fiber installation typically starts with a deep dive into existing utility maps. Next, crews call 811 to locate and mark any underground hazards. For example, local ordinances might require trenches to be no deeper than 18 to 24 inches.
So it’s important to gather good digging tools and appropriate personal protective equipment, in addition to the more high-tech gear you’ll eventually use. Compiling a checklist, checking the condition of each item, and organizing everything beforehand streamlines the project and helps prevent costly mistakes.
Fiber Strippers and Cleavers
Strippers and cleavers are essential for anyone who will be laying any fiber. These are an absolute must. Precision fiber strippers quickly and efficiently remove the outer jacket and buffer coating from the cable.
They accomplish this without causing damage to the fragile glass fibers on the inside. Incorrect usage can lead to nicks, which can destroy performance. Cleavers come in after stripping, cutting the fibers to a flat, clean end.
This preparatory step is a key part of both splicing and connecting, as a clean, accurate cut reduces potential signal loss. Ensuring these tools to be in peak condition is key. As with any tool, regular cleaning and blade checks help avoid slips and errors.
Experienced installers will usually spend a few minutes extra to show new crew members how to properly hold and employ the tools. They understand that one misstep can cost time and materials. Practice is very much key to making sure your splicing process goes as smooth as possible and your fibers stay whole.
Fusion Splicer or Mechanical Splice Tools
Splicing is the point where fiber literally connects to fiber. Whether you use fusion or mechanical splicing will be based on what the project needs. Fusion splicers use an electric arc to melt the ends of two fibers together.
This process produces a nearly flawless joint, which makes it ideal for long runs and high-bandwidth applications. Mechanical splices offer a more immediate solution for shorter runs or temporary connections. They rely on alignment and gel to form an intensive connection.
Each approach has its advantages and disadvantages. Fusion might involve more of an up-front investment and require more exacting control, but it offers the least signal loss. Mechanical splicing is quicker and less expensive but introduces additional signal loss over time.
Proper calibration of these splicers is important, as even a slight drift can lead to fragile connections. As a result, many techs spend additional time honing their skills with scrap fiber. They prepare themselves and build their confidence for when it counts the most.
Optical Time Domain Reflectometer (OTDR)
An OTDR is essential for testing new fiber runs. It works by sending pulses of light down the fiber and measuring the reflections to detect faults, bends, or splices. This tool helps determine where a problem is, but how far down the line it is.
This functionality greatly speeds up the time it takes to identify a problem. In a real-world urban deployment, an OTDR would be able to detect a crushed length of fiber located beneath a bustling thoroughfare. This finding prevents hours of blind digging through fiber to find faults.
Recording OTDR readings during every stage of the install will assist in future repairs and troubleshooting. When field teams receive proper training on OTDR interpretation, they can quickly identify where there’s an issue before it becomes one.
Visual Fault Locator (VFL)
A VFL is essentially a flashlight for fiber. It emits a bright red light along the length of the line, illuminating gaps or jagged edges that create fissures. This tool comes in useful at junctions for quick checks being made during the splicing process or after a run is laid.
Techs can identify light leaks in undesirable locations using VFL. This provides them with the ability to identify the pinpointed location that requires repair. When used following safety guidelines, such as never looking directly into the fiber, the process remains completely safe.
Having looping VFL checks as part of the final walk-through means no faults are missed.
Power Meter and Light Source
Power meter and light source are used to test the performance of the fiber link. The light source generates a known, consistent, controlled signal, and the meter measures whatever comes out the other side.
If the loss is greater, then something is out of whack—perhaps a dirty connector or an improper splice. These readings are recorded and measured against industry standards, proving that the job is performing to all the correct specifications.
Technicians get trained on how to set up the tools, run the tests, and read the output so there’s no guesswork.
Cleaning Supplies (Crucial!)
Network infrastructure, including fiber optics, must be kept impeccably clean. Any dust or oil contaminants on a connector affect improper signal quality. Getting prepared with lint-free wipes, isopropyl alcohol and special cleaning pens should be a priority.
Cleaning protocol typically involves wiping down each connector both before and after use, and inspecting with a scope if necessary. In dusty or windy regions such as the Southwest, sticking to this routine goes a long way.
You’ll have greater success with callbacks and you’ll have a lot less downtime. Teaching all actors why this is important creates the goodwill needed to foster long-term positive habits.
Keep Tools Calibrated
Calibration may be the most overlooked and underappreciated aspect of any install. Tools that are out of spec result in ugly cuts, inaccurate readings, or botched splices. Whether monthly or before each new big job, an established plan for checks helps maintain everything across the board.
Recording calibration results establishes a paper trail and allows you to easily identify when tools begin to fail. Training techs to identify signs of dull blades or loose parts will save you headaches down the road.
Safety First: Handle Fiber Optics Right
Whether you’re installing fiber optic cables in New York City or the remote parts of Alaska, safety protocols should always take precedence. Install cables in the data rooms with a proven plan. Next, run them through urban fire ducts, all while keeping the public safe.
Safety hazards, such as dust on cable ends or stray shards from cleaving, must be communicated and understood by every member of the installation team.
Always Wear Eye Protection
Always wear eye protection. Eye safety is serious business. In fact, tiny glass shards can become projectiles when jackets are stripped or when fibers are snapped.
All exposed workers should wear safety glasses. Not just any pair — select ANSI rated for high-impact work. Supervisors need to inspect equipment regularly for cracks or scratches.
Training needs to focus on bringing those lessons to life by showcasing personal accounts of close calls.
Dispose of Fiber Scraps Safely
Dispose of fiber scraps safely. Fiber scraps go directly into designated, labeled, rigid plastic containers. Just one strand can injure someone if it’s left on the ground.
Community waste regulations in large cities such as New York or Los Angeles may require special disposal—never dispose of scraps in municipal solid waste. Frequent conversations about the potential harm to humanity and the environment help to keep us all on our toes.
Understand Chemical Safety (Cleaners)
Chemical wipes are commonplace in many fiber jobs. Workers need to be aware of what’s in every single bottle. These MSDS sheets should be readily available.
Keep all cleaners in cool, dry locked cabinets, out of sunlight or heat sources. Bio-based, natural, environmentally-friendly cleaners are a no-brainer—lower risk, lower mess.
Follow US OSHA Guidelines
Follow US OSHA Guidelines. OSHA regulations are the minimum standards for worker safety. Routine inspections can catch issues before they become serious hazards.
Every employee must receive regular refreshers on standards. Document all training, including what was taught, who attended, and any near-miss or accident reporting.
Never Look Directly Into Fibers
Never look directly into fiber cables that may carry invisible lasers. Never look directly into a fiber end.
Warning signs should signal danger to workers. Training must focus on this using actual case studies.

Step-by-Step Fiber Installation Guide
The installation of fiber optic cable is an art that combines skill, collaboration, and a step-by-step approach that leads to success. For those readers who design and install telecommunications infrastructure for a living, attention to detail is not a choice—it’s a requirement. Each step you cover, from preparing the path to labeling the cable, is pivotal in protecting the fiber network’s integrity.
These decisions play a role in long-term ease of repairs and retrofits, as well. Today, fiber optic cables can transmit data at speeds of ten gigabits per second and beyond. In Morocco, the average installation cost per home is between $1000 and $1500, so ensuring every aspect of the job is done correctly and efficiently really makes a difference.
The following guide breaks installation down into manageable, practical steps, tying each part of the process back to safety, efficiency, and network quality.
1. Prepare the Cable Pathway
A successful installation begins long before the fiber is laid. It is important that every team member knows exactly what their role is. While one person looks for loose debris, another looks for sharp pavement edges, and a third person paints the proposed route.
In Marrakech, a city where ancient structures intermingle with modern architecture, installers frequently encounter sharp edges or unfinished surfaces. Marking the cable pathway keeps everyone on the same page and reduces the chance of severing the cable. In many cases, local building codes determine where and how fiber can be placed.
This is especially needed when routing lines through cultural heritage sites or through tight medina alleyways. Checklists have been proven to not only allow projects to stay on schedule here but ensure that nothing is overlooked. Just by capturing photos and taking notes now, you’ll make an incredible history for future teams. This will further help with training new employees that come on board down the line.
2. Pull the Fiber Cable Gently
Running fiber is not a race, it’s a matter of control. The cable must be pulled evenly and consistently, with no sudden yanks or jolts, to avoid creating micro-fractures in the glass fibers within the cable. In Morocco’s climate, with extremes from dry heat to torrential downpours, the cable jacket may become inflexible or slippery.
Installation teams should use specialized tension meters to monitor and control the pulling tension. Some crews use rollers or guides to help them make tighter turns. Training for this task is key—a team that understands the importance of pulling gently will have a quicker installation and fewer mistakes.
Documenting all snags or sticking points allows for easier troubleshooting later on if network issues start to appear.
3. Respect the Minimum Bend Radius
Often one of the worst mistakes made is bending the cable too tight around a corner or another object. All fiber optic cable has a minimum bend radius, which is typically listed in the cable specifications. Bending it tighter than that will start to introduce signal loss or eventually break the fiber.
In Marrakech’s winding alleys, it’s tempting to force a cable around a sharp turn, but guides or soft bends protect the cable and keep data flowing at top speed. Regular inspections while the fiber is in operation can identify bends that are starting to become a liability.
Uploading photos of problem areas to the team log creates a visual library of field conditions that can help inform future training.
4. Strip the Outer Cable Jacket
Accessing the bare fiber requires removing the outer jacket while ensuring you don’t accidentally nick or crack the glass within. This section definitely requires a nice, calm hand and an eagle-eye. Most teams use simple stripping tools and make certain to follow the cable manufacturer’s instructions.
Once stripped, inspect closely for any scratches or chipping. Even the tiniest imperfection can interrupt and disperse the signal. Writing a quick note or photo documenting each strip provides a record of due diligence and quality assurance. It makes it easier to identify patterns when issues come up.
5. Expose and Clean Bare Fibers
Fiber optic cable, at its very heart, is a delicate thing. Thin strands of glass or plastic transmit light. Dust, oil, or even a single fingerprint can break that light. Cleaning entails more than a quick wipe on a shirt—it requires lint-free wipes and alcohol.
Many installation teams employ the use of microscopes to verify that the fibers have been properly cleaned post-cleaving. This step, though seemingly basic, is the difference between poor signal and strong signal. Many teams will note their cleaning process in the install log.
That way, should a splice fail down the line, they can readily point to the cleaning method employed.
6. Achieve a Perfect Fiber Cleave
After all, a good cleave is one of the most important factors in achieving a strong splice. This does not mean simply cracking the fiber in half, but rather achieving a perfect fiber cleave without jagged edges. Teams apply small, calibrated tools to accomplish this task and inspect each cleave under a magnifier.
We get it, on a hectic install, it can be easy to cut corners, but a few seconds added here prevents hours spent down the line. Keeping track of cleave quality assists in determining whether tools require servicing or if increased training is required for staff.
7. Splice Fibers (Fusion or Mechanical)
Splicing is where the magic really occurs—joining two bare fibers together so that light passes seamlessly from one to the other. Fusion splicing uses a small spark to melt the fibers together, and mechanical splicing uses a small sleeve to line the two fibers up together.
While both require skill, fusion provides the least amount of signal loss. Experienced technicians in Morocco can splice two fibers in under five minutes, then test each one with a signal strength immediately after. Maintaining a record of every splice, its type and position, prevents difficulties when repairing the community’s network in the future.
8. Terminate with Connectors
This step refers to the process of terminating, or connecting, the fiber to a piece of equipment or network. There are two primary termination methods, and which one you choose depends on your equipment and installation site. The connector should seat tight and should be blown dry and cleaned prior to crimping.
Each connection is tested for speed and loss, as a weak link in this chain slows the entire network. Keeping a record of which connector was installed and in what location makes future upgrades or repairs much easier.
9. Secure Cables in Trays/Conduit
After properly installing, cables should be protected. Trays and conduits protect them from the elements, while organizing them to prevent being bunched up or kinked. In Marrakech, the pink city juxtaposes modern high-rises with old stone palaces and mosques.
This may result in you seeing plastic trays in a shiny new corporate office or metal conduits in an adorable classic Moroccan riad. Safety codes require clearances and protection from damage, so teams verify cables are not sagging or pinched and that each run is secured snugly.
Don’t underestimate the importance of cable management. Good cable management isn’t only aesthetic—it keeps future work more convenient and safe. Written notes and maps of each run are left behind for future teams to find.
10. Label Every Cable Clearly
As the saying goes, a network is only as good as its label. In scenarios where dozens of lines are running parallel to each other, colored tags can save countless hours of guesswork. Tough, laminated labels withstand Marrakech’s searing heat, dust and humidity.
Teams should be trained to use a standardized process, meaning one individual’s labels are understandable to the next team member. Each label with definitions are transcribed into the install log, helping to maintain clarity for years down the road.
Test and Verify Your Installation
Testing is the crux of a proven fiber optic cable installation. It’s critical because it makes sure that each and every component of your installation is up to rigorous standards and working properly. Robust testing protocol goes beyond checking the work; it provides all parties with assurance of the quality of work delivered.
In Morocco, where climate and dust conditions can be challenging, identifying problems before production is a time- and money-saving investment. Testing should take place three times—before, during, and after the install. This allows operators to have a complete picture of a cable’s health and detect issues immediately.
Use an OTDR for Faults/Loss
An Optical Time Domain Reflectometer, or OTDR, is essential for detecting faults and calculating loss over the length of the fiber. Conducting an OTDR test shows you the whole length of the fiber link. It can spot kinks, breaks or bends, including those sneaky microbends that show up at 1550 nm but not at 1300 nm.
A test trace provides a detailed overview and map of where things are getting lost. It enables local technicians to troubleshoot problems quickly, including in remote areas beyond Marrakech. Field personnel must be trained in reading these traces and every result should be recorded for future verification.
Measure Insertion Loss Accurately
Insertion loss measures the amount of light lost as it travels through the fiber. Calibrate your light source, launch cable, and power meter to determine the “0 dB loss” reference point. This will help you achieve an accurate measurement.
Final results in dBm provide the accurate depiction of link quality. If there is greater loss than anticipated, individually test each run or utilize the OTDR to help isolate the trouble area. Accurate documentation in this arena helps ensure a high quality of work and faster remediation of future incorrect installations.
Verify Against US TIA/EIA Standards
Adhering to US TIA/EIA standards provides a safety net that ensures quality. All testing and labor must adhere to these guidelines, with each step documented. This is especially important for large scale projects and for auditing purposes.
Staff needs to understand why these standards are important and what it takes to achieve them.
Document Your Test Results
Document Your Test Results Maintain detailed records on each and every test—create templates for each process. Document Your Test Results Store results easily, so they’re accessible for audits or remediations.
Provide them to the entire team and clients for transparent, honest work.
Avoid Common Installation Mistakes
Fiber optic cable installation in Morocco is not a job where one should cut corners or slap something together. It’s easy for even the most seasoned teams to trip into common traps that set projects back or create huge headaches later on. The little things—like using the wrong connector for a run, overlooking cable length, or missing a label—can lead to big problems later, especially in complex environments across Marrakech or Casablanca.
By catching these problems in advance, teams can prevent mistakes from happening and save valuable time and resources. This helps them save time, lower costs, and keep their networks running smoothly.
Developing a robust installation process begins with understanding the common missteps. First, arm your teams with the best training available to boost their expertise. Second, use detailed checklists to guide each step and hold everyone on the job accountable to quality control.
These nuances aren’t exclusive to a tiny office as opposed to a massive data center. They are the equally-important connectors in an outdoor aerial path that continues to shape the changing cultural winds of Morocco.
Exceeding Pull Tension Limits
Long fiber runs—particularly those running between buildings or across streets—can all too easily become damaged if you pull past the limits. When tension on the cable exceeds the pull limit, the fibrous glass fibers inside can snap or elongate. This can occur even when the jacket looks unscathed.
In Morocco, cable routes frequently snake through crowded medinas or over arid plateaus. It can be quite difficult to accurately gauge the amount of force needed in such varied environments. Teams should watch pull tension by using tension gauges.
These small, inexpensive tools yield a high return on investment by identifying issues before they become costly problems. Educating everyone—experienced installers and new hires alike—about why we need to stay within these limits is key. It’s a recipe for failure. It’s the opposite of mitigation.
If a cable is pulled taut, make a record of it and adjust it later. This practice is great for identifying the weak link before they become a failure.
Ignoring Bend Radius Rules
Fiber optic cables have a very limited bend radius before their delicate inner core is damaged. This rule might seem simple, but it’s easy to break—especially when routing cables around tight corners or squeezing them behind panels.
Whether fiber is deployed in congested Marrakech data centers or outside plant runs up telephone poles, having the proper bend radius can make all the difference. Using bend guides or other rudimentary measuring tools are ways to ensure that bends remain shallow.
Develop a practice of discussing and recording whenever a cable is bent tighter than the installation rules allow. These annotations can provide a valuable learning experience for teams and prevent them from making the same mistakes twice.
Using Dirty Connectors or Tools
While dust and dirt are the sworn enemies of fiber optics, Morocco’s parched climate only compounds the danger. Just a little particle of dirt on a connector can kill a signal instantly.
Teams need to develop hard and fast cleaning protocols, wiping down all connectors, inspecting tools, and never allowing cables to touch the ground. Training goes a long way, but regular inspections go even further.
Document all cleaning procedures and outcomes in a maintenance record. This creates accountability and allows you to identify patterns should issues arise in the future.
Making Poor Splices or Cleaves
When splicing fibers together, a proper, even splice or cleave is the key. Improper cleaves or splices result in weak signals or even complete link failure. This is why investing in quality splicing tools and taking the time to train staff on the best practices is well worth the investment.
It shouldn’t take bodies in the ground for inspections to be routine, rather than afterthoughts. Ultimately, teams should record each splice and cleave, identifying the successes as well as failures.
Over time, this creates a library of lessons learned that benefits everyone and allows them to continuously improve.
Inadequate Cable Protection
Fiber is a durable product, but it’s not indestructible. Whether on Morocco’s bustling roads or greenfield developments, cables are subject to compression, shearing, and other forms of damage. Adequate protection begins with the proper conduit or cable tray.
Installers of aerial cables need to be aware of wind and weather conditions. High winds can result in aeolian vibration, which slowly deteriorates the fiber over time. Staff need to understand the significance of these steps, and each project should document what protection was utilized and its location.
Skipping Proper Labeling
Once the dust has cleared, few things are worse than trying to track down the correct fiber in a tangle of cables. Avoiding the proper labeling increases repair times and complicates future upgrade work, notably in spaces shared among a larger building or in outdoor nodes.
Having a quick, uniform labeling process up front can save hours of time down the line. Ensure that all potential users are trained to utilize it properly, and maintain a record of the installation pattern utilized for each location.
This prevents anyone from getting lost when it’s time to trace a line or repair a break.
Additional Best Practices
The longer the fiber run, the more likely all of the above mistakes are to happen, so route and plan lengths very carefully. Understand connector types—SC, LC, ST, etc.—and apply them to the job.
Choose the correct type of cable (single-mode for longer, straighter runs—multi-mode for shorter, more complicated routes). Know the differences between connector finishes, such as PC, UPC, APC. Using the wrong one can cause massive signal loss almost immediately.
Every project, big or small, should treat running, connecting, and terminating fiber as steps that demand close attention, not quick fixes.
Conclusion
To install fiber optic cable properly, follow each step diligently. Having a good plan goes a long way to stay out of hot water. Choose your location, familiarize yourself with your equipment, and protect yourself. A good sharp pair of wire cutters, a clean work area and a plan for pulling cable go a long way. Always test each run, and always check your work. Always avoid tight bends, kinks and dirty hands. That’s where most people in the States get in hot water—by cutting corners on inspections or trying to do the work too quickly—don’t be that guy. Proper installation means quick, reliable internet and less hassle in the future. Have a tale or suggestion from your own install. Share it. We call it fiber done right. Help other people get their fiber up and running strong.
Frequently Asked Questions
What are the benefits of installing fiber optic cable in Morocco?
With fiber optic cables, Moroccans will enjoy faster internet speeds, increased data security, and uninterrupted access to high-definition streaming. In Morocco’s deepening fiber optic ecosystem, that translates to more stable and dependable connections for households and enterprises.
Which type of fiber optic cable is best for home use?
Single-mode fiber really shines over longer distances. For the majority of homes in Morocco, multimode fiber is a cheaper option that works perfectly well over shorter distances.
What safety gear do I need for fiber optic installation?
Ensure you wear safety glasses, cut-resistant gloves, and closed-toe shoes. A fiber strand can puncture skin and even the eye, so you should always handle cables and tools with care and caution.
Can I install fiber optic cable myself?
Can I install fiber optic cable myself. When it comes to large projects, or more complicated networks, bringing in a certified Moroccan technician is not only safer, but far more efficient as well.
How do I test my fiber optic cable after installation?
Test using a fiber optic tester or power meter. This checks signal strength and connection quality, ensuring your installation delivers top performance.
What are common mistakes to avoid during installation?
Don’t bend cables sharply, pull them too forcefully, or mismate connectors. These errors can lead to weak signals or even cable failure.
How can I plan a fiber installation project for my Marrakech home?
Pre-plan cable paths, make distance measurements, and plan for local challenges such as heavy/rough stone walls or outdoor conditions. If in the U.S., always use U.S. Measurement standards for your accuracy.