
 Optical Fiber
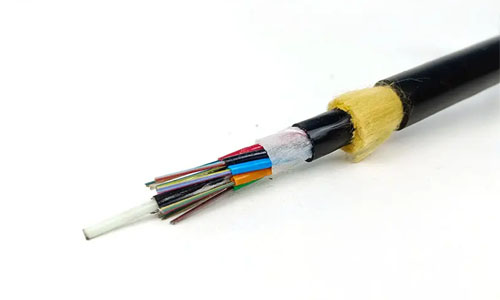 ADSS Fiber Optic Cable
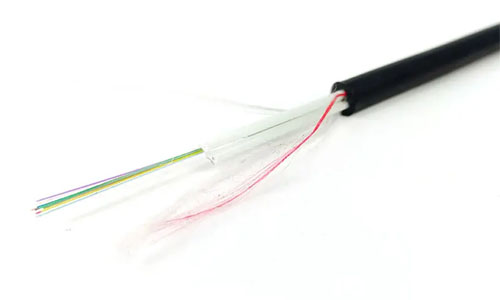 ASU Fiber Optic Cable
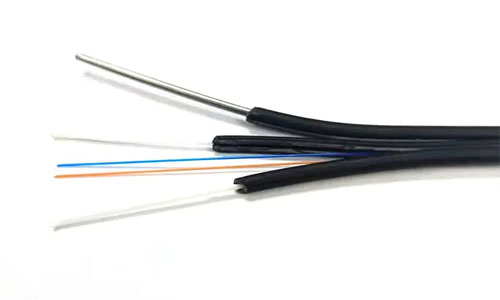 FTTH Fiber Optic Cable
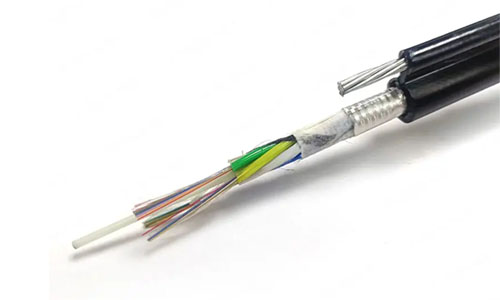 Figure 8 Fiber Optic Cable
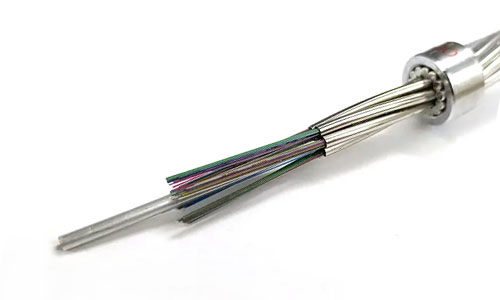 OPGW Fiber Optic Cable
 Coaxial Cable
 Ethernet Cable
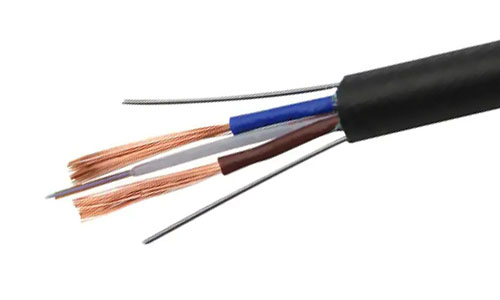 Photoelectric Composite Fiber Optic Cable
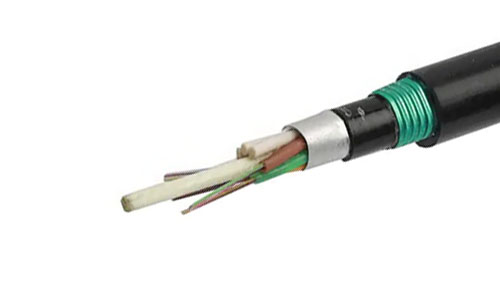 Underground & Pipeline Fiber Optic Cable
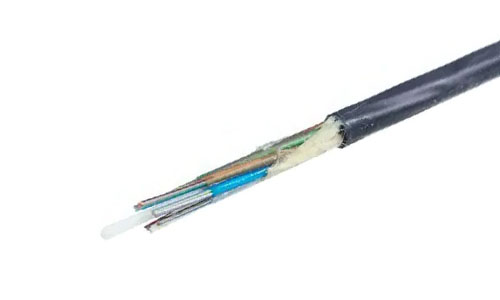 Air-Blown Micro Fiber Optic Cable
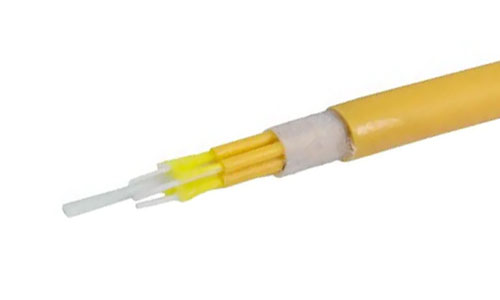 Indoor Fiber Optic Cable
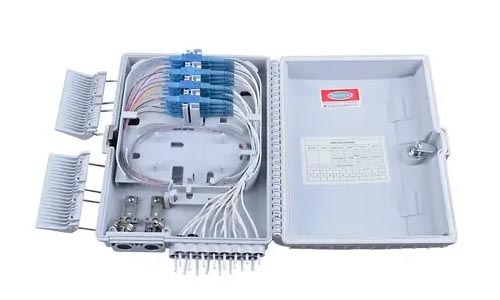 Fiber Optic Distribution Box
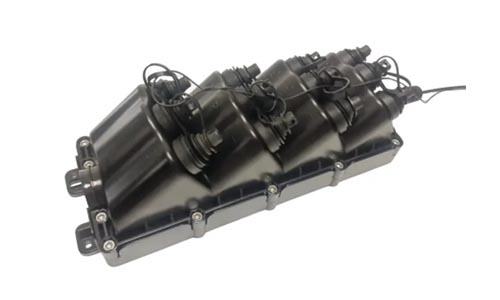 Multiport Service Termina Box
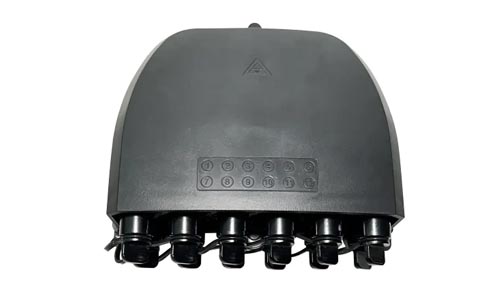 Fiber Optical Terminal Box
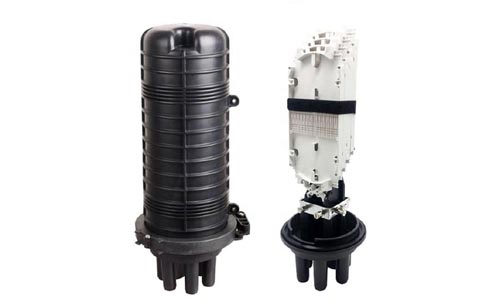 Fiber Optic Splice Closure
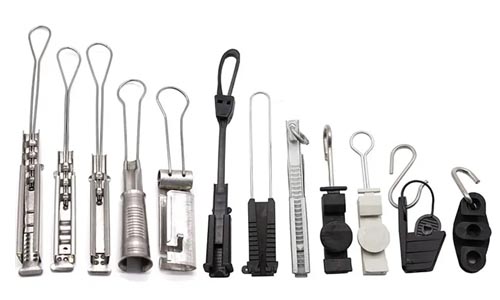 Fiber Optic Clamps
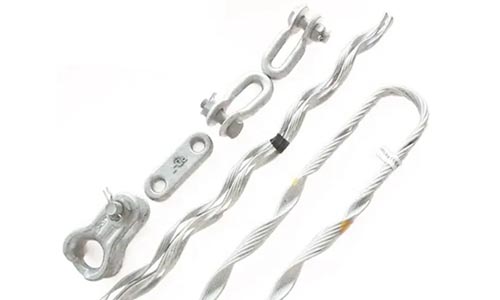 Fiber Optic Cable Fittings
 ADSS Fiber Cable
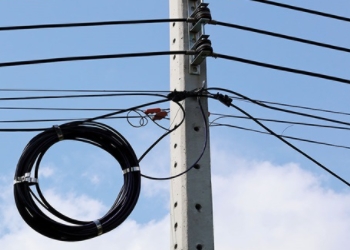 ASU Fiber Cable
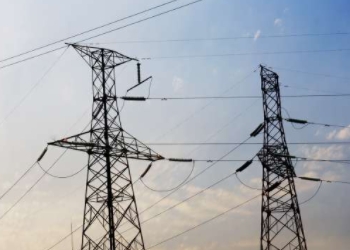 OPGW Fiber Cable
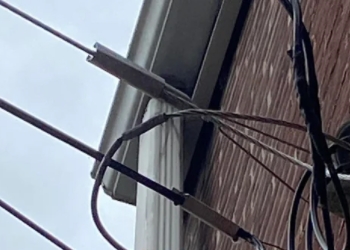 FTTH Fiber Cable
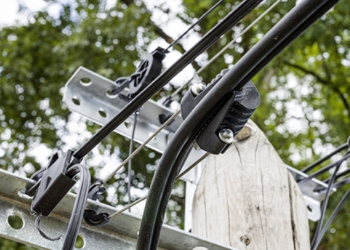 Figure 8 Fiber Cable
 Photoelectric Composite Fiber Cable
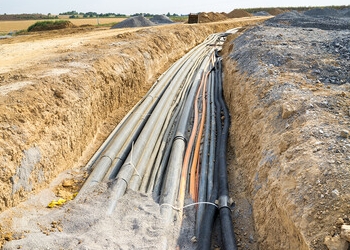 Underground & Pipeline Fiber Cable
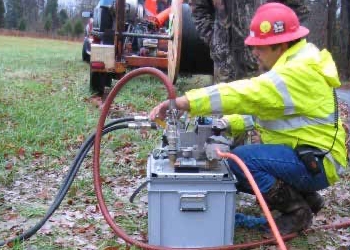 Air-Blown Micro Fiber Cable
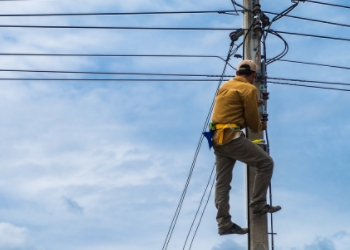 Aerial Fiber Cable
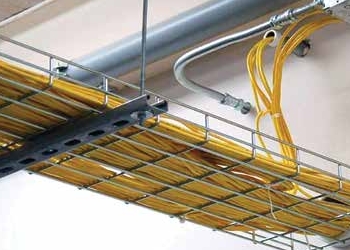 Indoor Fiber Cable
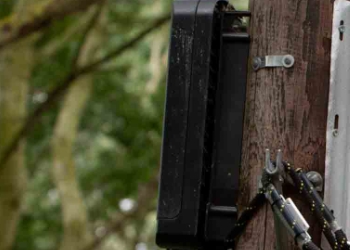 Fiber Optical Terminal Box
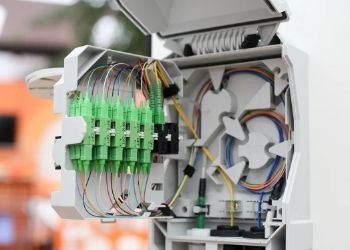 Fiber Optic Distribution Box
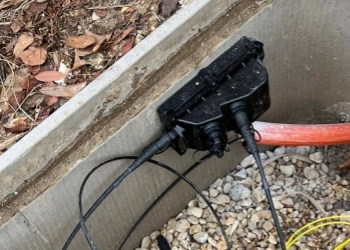 Multiport Service Termina Box
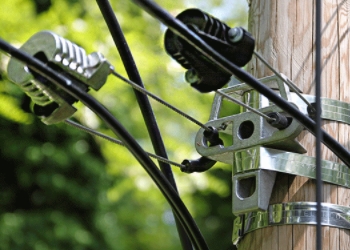 Fiber Optic Clamps
 About Us
 Our Team
 History
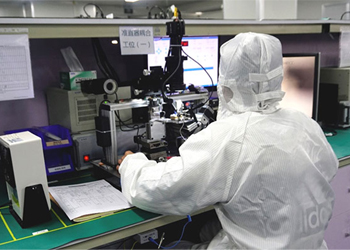 R&D Strength
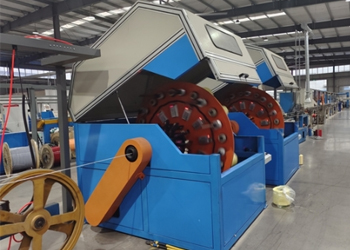 Production Base
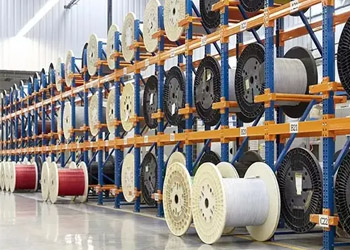 Warehouse & Logistics
 Quality
 FAQs
FAQsHow to Crimp Rj45?
Contact us for more sample,According to your needs, customize for you.
inquiry nowHow to Crimp Rj45?
RJ45 crystal head is a commonly used interface connector in network connection, widely used in home, office and other places of network wiring. The correct wiring method can ensure the stability of network connection and the efficiency of data transmission. This article will introduce the connection of RJ45 crystal head in detail through the way of graphic, to help readers easily master this practical skill.

Rj45 Crimping Tool
1. Preparation
Before wiring, we need to prepare the following tools and materials:
RJ45 crystal head several;
One type 5 or 6 network cable (the length is cut according to need);
A pair of network cable pliers (used for stripping and crimping cables);
One cable tester (optional, used to test network cable connectivity).
2. Wiring steps
Stripping the cable: Use the stripping port of the network cable pliers to peel the outer cover of the network cable by about 2 cm to expose the eight core cables inside. Be careful not to cut the core when stripping the wire.
Sort: Arrange the cores according to the line sequence of T568B, that is, orange white, orange, green white, blue, blue white, green, brown white, brown. This is the most common line order and is suitable for most network connection scenarios.
Trim: Use the cable cutting port of a network cable pliers to trim the eight core wires with a length of about 1.5 cm. Ensure that the core wires are neatly parallel.
Insert the RJ45 connector: Insert the cut wire core into the metal pin of the RJ45 connector. Ensure that the wire core is inserted to the bottom and the wire sequence is correct.
Press cables: Press the RJ45 connector using the cable crimping port of the network cable pliers to ensure that the cable core is in close contact with the pins of the RJ45 connector.

3. Test and investigation
After the wiring is complete, we can use the line meter to test the connectivity of the network cable. Connect the two ends of the line meter to the two ends of the network cable and observe the indicator on the line meter. If all indicators turn on in sequence, the cables are correctly connected and the network is properly connected.
If the indicator light is not on or lights up out of order, it may be caused by the following reasons:
If the cable sequence is incorrect, check whether the cable sequence in the wiring procedure is correct and reconnect the cable.
If the RJ45 connector is damaged, replace it with a new RJ45 connector and reconnect the cables.
If the network cable is damaged, replace it with a new network cable and reconnect the cables.
4. Precautions
During cable connection, ensure that the cover and core of the network cable are not cut or damaged; otherwise, the network performance is affected.
Use appropriate network cable pliers and RJ45 connector to ensure cable quality and stability.
When wiring, pay attention to avoid strong electromagnetic interference sources, so as not to affect the transmission quality of the network signal.

Through the above steps, I believe the reader has mastered the RJ45 crystal head connection. In practical applications, you can select the appropriate network cable and RJ45 connector to meet different network connection requirements.
