 Optical Fiber
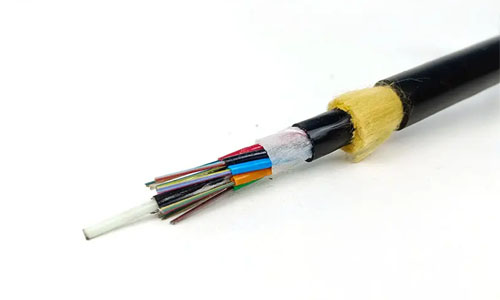 ADSS Fiber Optic Cable
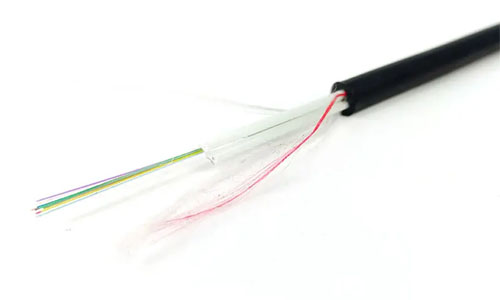 ASU Fiber Optic Cable
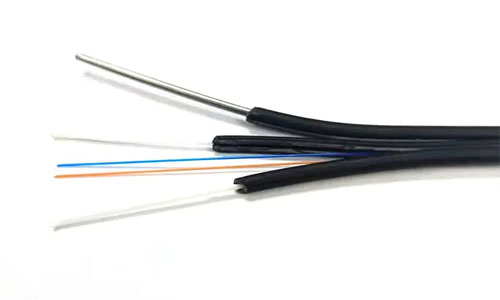 FTTH Fiber Optic Cable
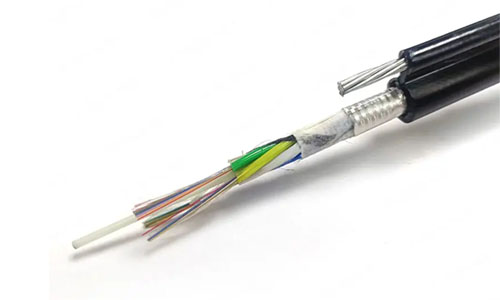 Figure 8 Fiber Optic Cable
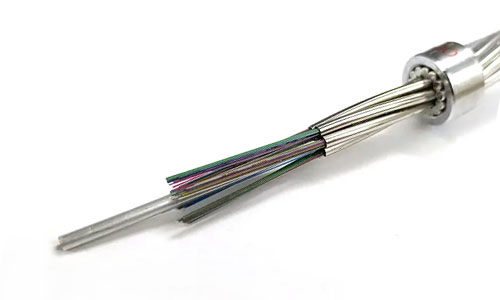 OPGW Fiber Optic Cable
 Coaxial Cable
 Ethernet Cable
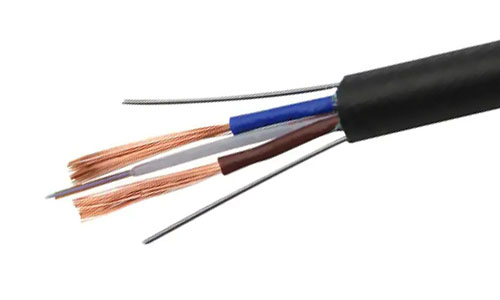 Photoelectric Composite Fiber Optic Cable
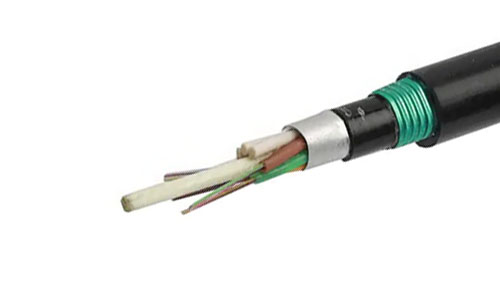 Underground & Pipeline Fiber Optic Cable
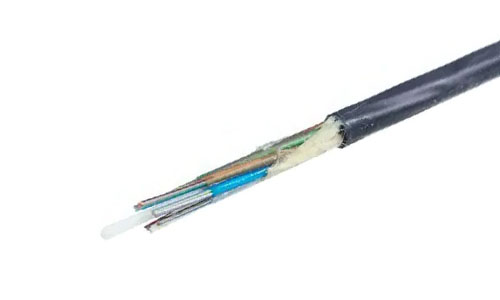 Air-Blown Micro Fiber Optic Cable
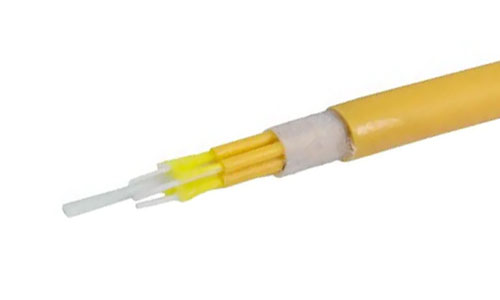 Indoor Fiber Optic Cable
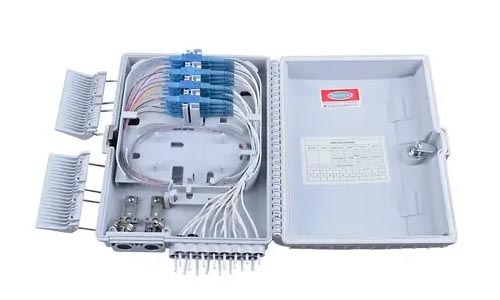 Fiber Optic Distribution Box
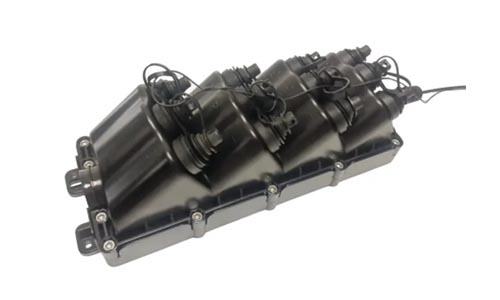 Multiport Service Termina Box
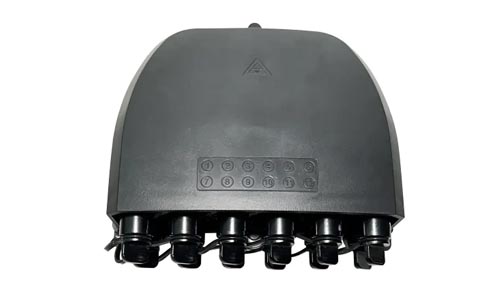 Fiber Optical Terminal Box
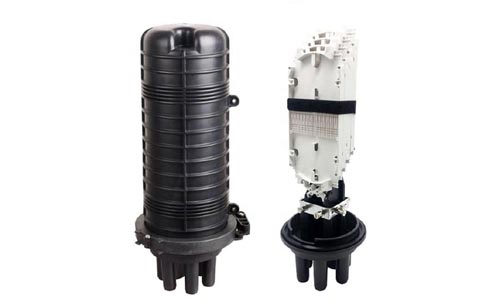 Fiber Optic Splice Closure
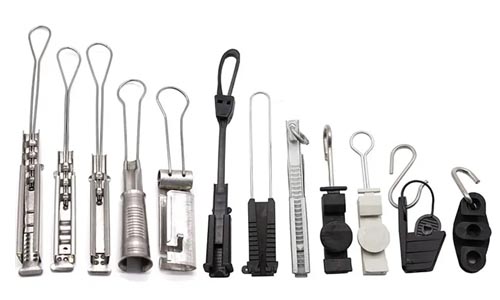 Fiber Optic Clamps
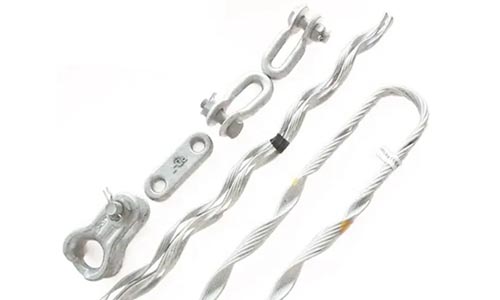 Fiber Optic Cable Fittings
 ADSS Fiber Cable
 ASU Fiber Cable
 OPGW Fiber Cable
 FTTH Fiber Cable
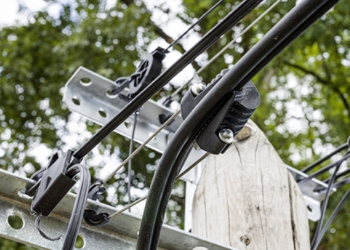 Figure 8 Fiber Cable
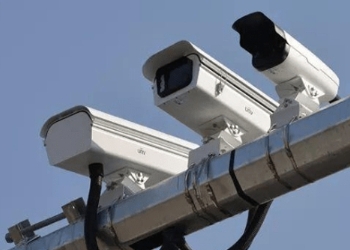 Photoelectric Composite Fiber Cable
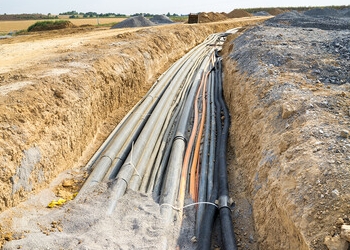 Underground & Pipeline Fiber Cable
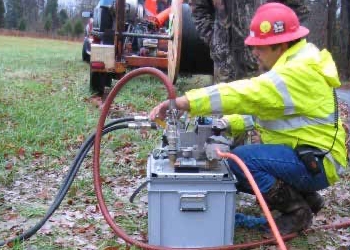 Air-Blown Micro Fiber Cable
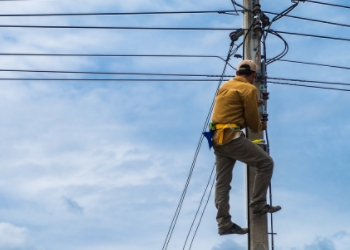 Aerial Fiber Cable
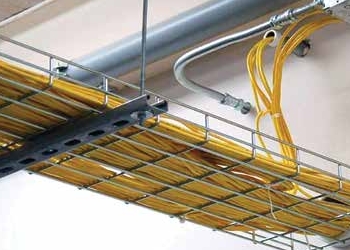 Indoor Fiber Cable
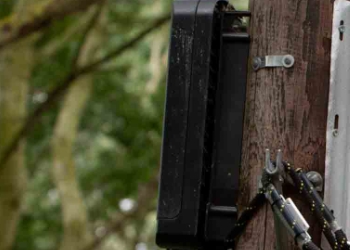 Fiber Optical Terminal Box
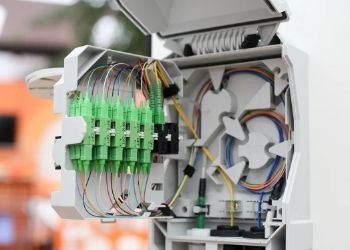 Fiber Optic Distribution Box
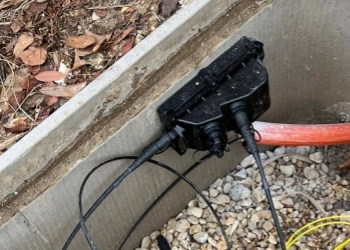 Multiport Service Termina Box
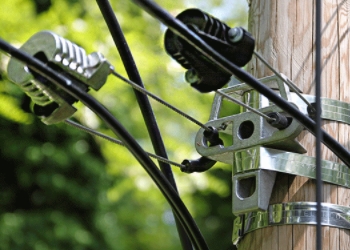 Fiber Optic Clamps
 About Us
 Our Team
 History
 R&D Strength
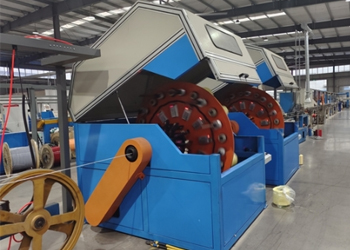 Production Base
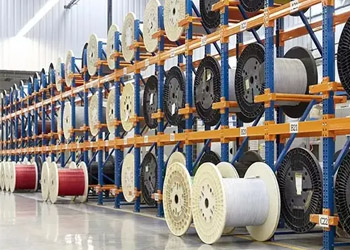 Warehouse & Logistics
 Quality
 FAQs
FAQsHow to Choose the Best Outdoor Fiber Optic Cable?
Contact for Free Quotation & Sample, According to your needs, customize for you.
inquiry nowHow to Choose the Best Outdoor Fiber Optic Cable?
-
I need to prioritize durability and protective features when choosing outdoor fiber optic cables to ensure reliable performance in harsh environments.
-
I want to determine my bandwidth needs as well as long term network goals. This ensures that I’m selecting a cable that can accommodate not only my present requirements but future expansion.
-
I should match the cable type and construction to my installation environment, considering factors such as terrain, weather, and whether the cable will be buried, aerial, or installed in ducts.
-
Following stringent industry quality standards and certifications ensures predictability, safety, reliability, and longevity for all of my outdoor fiber deployments.
-
With careful installation planning and routine maintenance, I can improve the longevity of my fiber optic cables. This proactive approach can save money in the long run.
-
By thoroughly evaluating total cost of ownership—including initial investment, installation, and ongoing maintenance—I can maximize the long-term value of my fiber optic network.
When selecting outdoor fiber optic cable, my first directive is always to look for the cable’s in-service jacket rating, waterproof design, and UV protection. Outdoor cables require tough jackets such as polyethylene to withstand exposure to rain and UV rays.
Since you don’t want water getting into your cable, make sure that you choose a gel-filled or loose tube fiber optic cable. Some cables are armored to prevent damage from the likes of rocks and furry creatures.
Don’t forget size—be sure to select the appropriate spacer core count based on how many lines you need to run. Look for bend radius and consideration of whether you plan to bury the cable or run it above ground.
I’m a stickler for ensuring that the cable complies with local regulations and is appropriate for installation in my locality’s climate. In the following introduction purchased, I will explain every element piece by piece.
Identifying your needs will allow you to select the appropriate cable for your installation.

What Defines Outdoor Fiber Cable?
Unlike indoor cables, outdoor fiber cables are characterized by durable construction and rugged design ideally suited for utilities’ toughest locations. These cables utilize the thickest, most impact-resistant jackets available anywhere to withstand extreme weather, UV exposure, and near-saturation water environments.
Most outdoor cables offer hardened forms of the twist-rated outer layers that prevent water, soil, and UV rays from damaging the core inside. Distinct from indoor cables, they employ materials that prevent corrosion and hold up under harsher conditions.
In the U.S., standards such as NEC Article 770 and UL 1651 govern flame spread and smoke. This is critical especially in environments such as risers and plenum spaces.
Contrasting Indoor vs. Outdoor Builds
Indoor cables typically employ pliable jackets that are effective at resisting dust but little else. Outdoor cables use much more rigid jackets, utilizing materials such as Low Smoke Zero Halogen (LSZH) or heavy-duty plastic.
These can shut out water and sunlight for decades without deteriorating. Indoor cables don’t need the same level of shielding. Outdoor cables usually have extra layers or even an armored casing to shield the core from bends and impacts.
When rigging outdoor cables, ensure a rigging bend radius of a minimum 10 times the width of the cable. This protective measure stops bending-breakage duo and maintains max tempo. Outdoor cables are designed to withstand extreme outdoor conditions and have a higher data carrying capacity over longer distances.
In reality, fiber has a power loss of only 3% over about 328 feet or 100 meters.
Core Construction Elements Explained
The fiber’s core is where the light signals are transmitted. The larger the core is, the more data it is able to transport at one time. Cladding is a second layer that wraps around the core, ensuring all light stays inside and increasing the signal.
The outer jacket is durable, thick, and tight enough to keep out water, dirt, and pesky animals. LSZH jackets provide additional protection in a fire by reducing smoke and fumes.
Why Durability Is Non-Negotiable
Rugged construction translates to fewer service calls and lower chance of signal loss due to environmental shocks. Heavy-duty jackets, armoring, and rust-resistant components extend the cable’s lifespan.
Choosing cables that resist harsh environments and flexing will result in long-term cost savings while keeping your critical data flow uninterrupted.
Key Factors for Choosing Cable
To identify the best outdoor fiber optic cable, look for these seven essential elements. These are critical factors that will shape the performance and longevity of your network.
Pick a cable that meets your data transfer requirements. Think about where you plan to use it, and what your growth potential is. Their quality standards ensure you receive a cable that exceeds the required industry standards and is designed to meet your needs.
1. Determine Your Bandwidth Requirements
First, consider how much data you plan to transfer, both today and in the future. If your network has high bandwidth requirements and must transmit over long distances, select single-mode fiber (SMF).
That’s great for moving people quickly over long distances. For short runs, say under 984 feet, OM3 multimode fiber (MMF) is ideal. More fibers in a cable means more bandwidth.
Group your fiber strands according to how many devices or users you plan to serve. If you’re not looking for those intermediate speeds and your next goal is 40GbE or 100GbE, Active Optical Cables (AOCs) get you there.
2. Scrutinize the Installation Environment
Look at the area where the cable will run. Hills, rocky terrain, or climate conditions such as heavy rain or extreme heat can all affect which type you require.
Wetter areas or areas with predatory fauna require more stringent protection. If you aren’t going to be able to reinsert frequently, choose a cable that is more durable over time with less maintenance.
3. Match Cable Type to Conditions
Choose the right cable based on your intended installation method. For attached-use poles, aerial cables are an efficient and practical solution.
On especially challenging buried routes, equipped armored cables provide additional protection. Ribbon cables are ideal when you need a great number of wires in a single patch point.
While some cables may bend with no problem at all, others might hold up to crushed or chewed on perils.
Exploring Outdoor Cable Varieties
Outdoor fiber optic cables vary widely, with each type having an obvious application for specific requirements. Selecting the proper outdoor cable will largely come down to where you will be installing them. Think about the stress they’re going to be under when in use.
Loose tube cables are ideal for virtually any outdoor application and protect the fibers from exposure to water and macro bending. Space saving Ribbon cables are thin and flat. This very attribute further makes them a great candidate for localized spaces, such as data centers, that need a high density of fibers, in a small area.
Armored cables are unique, featuring a dense metal exterior that protects the wire core from animal bites or other harsh abuse. Aerial cables, designed to suspend between utility poles, must be durable enough to resist damaging wind and ice. For example, direct burial cables go directly into the earth and need to prevent water and insects from getting in.
Duct cables have been designed to glide through plastic or metal tubes for added protection. Here’s a look at the main cable types and their best uses:
-
Loose Tube: Broad outdoor use, good for water and flex.
-
Armored: High-protection, tough spots, rodent zones.
-
Aerial: Pole mounts, long runs in the air, weather spots.
-
Ribbon: High fiber count, tight spaces, easy group splicing.
-
Direct Burial: Underground, wet or animal-prone spots.
-
Duct Cable: Inside conduit, easy swap and fix.
When you choose the best outdoor cable, you enjoy superior signal quality, cut costs, and prevent future complications. Each option is influenced by factors such as distance, budget, and desired fiber type (singlemode or multimode).
The other half of the cost is in how and where you install the cables. Rugged connectors, such as ST types for multimode jobs, work to maintain steady lines.

Why Robustness Matters Outdoors
In our experience, robustness is non-negotiable for outdoor fiber optic cable. Out there, cables grapple with a lot more than just moving data around. They’re subjected to rain, sun, wind, and of course the wear and tear of decades spent fielding.
A hardcore cable can handle jolts, abrasive surfaces, and extreme elements and ensure your data remains secure. The same is true for smart cities, 5G towers, and IoT devices. With limited connectivity, a dropped connection could result in life or death circumstances.
All that high bandwidth and fast links won’t do them much good if that cable doesn’t continue to function come rain or shine. Selecting outdoor-rated cables designed to withstand rugged outdoor conditions will result in decreased downtime and cost you less in the long run.
Battling Weather Extremes Effectively
Outdoor cables have to contend with the scalding sun, deluging rains, snow and ice, as well as gripping desert sandstorms. UV rays severely degrade flimsy cables quickly, and moisture gets under the sheath and wreaks havoc.
Cables that use weather-tight jackets and are coated to be UV-proof significantly last longer. For instance, cables with ruggedized black PE jackets provide excellent resistance to UV and moisture. In areas that experience extreme weather changes, like Texas or Chicago, opt for double-jacketed cables or cables rated for all-weather usage.
Resisting Physical Impact Damage
Outdoors, cables are run over, dug up, or hit by other tools. Durable components such as steel tape armor or crush proof sheaths prevent shattering. These armored cables sparkle in places with intense burrowing activity.
You’re unlikely to see them on a crowded city street or on a cell tower location saturated with equipment. Non-armored cables are more suitable to poles or locations with lower risk of damage. Choosing the type best suited protects lines and preserves the data.
Understanding Material Degradation Factors
Nearly all outdoor cables include materials such as polyethylene, steel or Kevlar. Sun, water, and air can all eventually cause these to deteriorate. Use longer-lasting, high-quality jackets and water-blocking gels.
Both last longer and reduce the need for repairs. Look for ratings on UV, water, and rodent resistance to determine if a cable is appropriate for your location.
Impact of Temperature Swings
Manufacturing defects can play a role in cable performance. In extreme heat or cold, rapid changes in temperature can cause cables to expand and contract, resulting in stress fractures that can speed cable down.
Cables with gel-filled tubes or loose buffer constructions combat this issue. Take for instance the cables in the Midwest. These cables with a rated operating temperature of –40°F to 158°F don’t get shaky.
Choose cables with high thermal ratings appropriate to your climate.
Installation Methods Compared
Deciding on the best installation method for an outdoor fiber optic cable for your application takes thought and deliberation. You have to evaluate the site, consider the scope of work, and consider future needs. Depending on the size of the job, most utilize above-ground or below-ground installation.
You can view these alternatives in action in actual field conditions. Just recently, our team installed several miles of fiber to connect 20 medical clinics and wired a school campus to better educate hundreds of students and teachers. Since each method has a particular fit, cost and maintenance requirements, the method you choose determines how well everything will work down the road.
Above-Ground Deployment Advantages
Above-ground installs, such as aerial cables on steel poles, are the most convenient and easy to install for quick access. This allows crews to identify and access downed lines quickly for repair or inspection, minimizing the downtime even further.
Whether the goal is to complete projects on a lean budget or a tight schedule, this option saves resources. Other commercial corridor jobs use aerial lines to save on installation expenses. This method has the added benefit of getting lots of fast broadband online more quickly.
However, open air exposes them to more risk. The elements, UV and birds can all erode cables over time, but armored cables provide an extra level of protection. Jobs in wide-open spaces or areas where many poles have already been installed are ideal for above-ground runs.
Underground and Burial Nuances
Underground jobs require much more planning. Ensuring an appropriate burial depth and casing receipt prohibits extensive contact with water, rodents, or heavy commercial flow.
Loose tubes cables and armored varieties are right at home here, with durable exteriors to defend against granite and gum trees. Direct burial cables let you run new lines without requiring additional ducts or conduits to be installed. This feature is ideal for active sites or when going deep isn’t possible.
Tips: always map the ground first, check local rules, and use warning tape above buried lines to stop future dig-ins.
Selecting Method Based on Terrain
Ground truth really is ground truth. The ground rules a whole lot. Areas with rocky or abrasive substrate may require armored cables with a low pulling force resistant ARMOR-LINK cousins.
Moist or boggy terrain requires enclosed, moisture-proof cables. Slopes or agrivoltaic landscapes may require a hybrid—some aerial, some below ground. Local legislation may dictate line depth or require protective casing.
The truth is you’ll end up spending upwards of 80% of your time figuring out how to work with the land. The actual pulling will go very quickly.
Common Installation Methods and Benefits:
-
Aerial (Above-Ground): Quick install, easy to fix, lower upfront cost. Good for busy areas, protects cables, less gear needed.
-
Ducted (in Conduit): Protection against crush and water, easy to change out fibers down the road. Armored: Fights off rodents, rocks, and high force pulls.
-
Packs many fibers tight, great for big jobs and mass splicing.
Analyzing Overall Cost Factors
Even better, when I consult on outdoor fiber optic cable projects, I analyze all the cost factors before deciding on any path forward. Cost factors extend beyond the cost of the cable itself. I consider the type of fiber, core count, and connector, as well as the installation and long-term care.
Selection of fiber optic versus copper cables will affect both upfront costs and long-term expenditures. That’s why I’m like an evangelist for these options because they work for me personally and for my business. Fiber optic cables like OS1, OS2, OM1, OM2, OM3, and OM4 vary widely in cost.
These prices are indicative of their high performance and high luxury applications. Fiber cables can transmit data at speeds of up to 100 Gbps, whereas copper cables are typically limited to 10 Gbps. I was told that about 80% of the total project cost goes into cables themselves. Those overall cost factors are why picking the right type matters!
Initial Cable and Hardware Costs
The sticker price on outdoor fiber optic cables typically comprises the bulk of the invoice. I verify whether I need single-mode or multi-mode, how many cores I require, and which connectors are compatible with my design. Physical hardware such as patch panels, enclosures, and adapters the costs continue to accumulate.
Rugged jackets, UV protection, and other features can increase the cost. They do carry huge value in respect to outdoor recreation. By aligning cable specifications to my network requirements, I’m able to have a more realistic and achievable budget.
I purchase in bulk when able and try not to overpay for things I don’t even use.
Installation Labor and Equipment Fees
The biggest part of the cost Fiber labor is a huge factor to lay fiber. Digging trenches, pulling fiber cables, and using specialized equipment such as fusion splicers adds a layer of costs. If the terrain is difficult or if there are many turns, construction labor hours increase.
I schedule the route to dodge difficult areas, use local crews and their equipment, and rent gear only when absolutely necessary. This preventive approach makes it possible to maintain costs without sacrificing quality of work.
Ongoing Maintenance Budget Needs
After installation, outdoor fiber requires routine inspections and maintenance. Typical tasks are checking for corrosion, ensuring connection stability, and checking for breaks in lines. Taken together, these steps prevent small emerging problems from becoming catastrophic outages.
I set aside personal savings each year to do this work. Having a consistent timetable allows me to reduce expenditures gradually and make my service more reliable.
Calculating Long-Term Value Proposition
Quality fiber optic cables are an investment that returns dividend. They minimize the need for maintenance, better accommodate high speeds and more extreme weather conditions, and last longer. Fewer repairs, less downtime – all resulting in more value for my limited budget.
I try to be judicious with the return. I look at the upfront cost versus the many years of great performance and the lowered long-term hassle it provides.
Best Practices for Installation Success
Installing outdoor fiber optic cables the right way begins with thorough planning and thoughtfulness at the installation stage. Evaluate the property and stick to predetermined guidelines. In doing so, you’re not only minimizing the chance for errors to occur, but providing a positive network experience.
A detailed plan, thorough training, and meticulous implementation lead to fewer complications both in the short and long term. During installation, tiny details—from cable tensioning to joint sealing—combined with bigger picture steps lead to a more durable, longer-lasting system.
Pre-Installation Site Checks
Looking at the site prior to getting out there makes all the difference. Look at the terrain and consider the distance between landmarks. Determine the path the cable will take, either along walls or through underground routes.
FMUSER’s agreement with Reliance Industries allowed them to determine how much cable was needed to span the length desired. They further calculated the network’s long-term needs. A checklist helps: survey the route, spot any sharp bends, check for water risks, and list all gear needed.
Following these five strategies allows you to choose the ideal cable, such as SMF-28e+ for longer-length installations with minimal signal degradation.
Handling Cable Carefully Always
Take care of your helmet cable and it will serve you for many years to come. Pre-mature bending or excessive pulling will damage or break the fiber. FMUSER’s team trained others, like USP’s IT staff, to handle cables right and fix problems later.
Carefully strip back a few inches of the cable jacket. This will give you an opportunity to attach the aramid yarn to the pull string, holding it steady while you’re pulling. The right steps ensure the cable remains healthy and functional for years to come.
Ensuring Proper Tension and Bend Radius
Proper tension and bend radius are critically important. Don’t skimp here! Excessive tension or acute angles damage signal transmission, which can be up to 100 Gbps with fiber optic cables.
Document tension, for instance, and never ignore the original manufacturer’s specifications—measure bends and monitor tension throughout the process. Teams that actively monitor this go a long way in extending the cable’s lifespan.
Sealing Connections Against Elements
Outdoor cables are subjected to sun, rain, and dust. Proper sealing prevents water or soil ingress which can inhibit operation at high speed and lead to failure. Opt for weatherproof boots, tapeless connections, or gel-filled joints on both ends.
FMUSER’s complete kits include the correct seals and other components required. Frequent inspections and secure, proper cleaning and greasing of connections help prevent dangerous and time-consuming failures.
Maintaining Cable Health Long-Term
Maintaining outdoor fiber optic cables long-term protects your investment and is more cost-effective than installing once and done. You’ll want a strategy that addresses regular maintenance, minor repairs, and major retrofits or replacements.
With fiber cables not carrying electricity or picking up EMI, you get peace of mind, but regular care keeps signal loss in check and helps spot problems early. Single-mode fiber loses only 0.11 dB per 328 feet at 1310 nm ensuring excellent signal integrity over extended distances. This performance is a remarkable improvement over copper, which almost completely loses its signal over the same distance.
Routine Inspection Schedules Matter
Implement a predictable inspection schedule for your perimeter cables. Pay attention to jacket wear, bends, loose connectors, or other indications of water intrusion.
Routine inspection twice a year allows them to identify potential problems when they’re still small. Your checklist can include: checking the cable jacket for cracks, testing signal loss with an OTDR, making sure connections are tight, and looking at brackets for rust or damage.
These precautions go a long way toward maintaining the health of the system long-term and reducing unexpected repair needs.
Common Outdoor Cable Problems
You might notice some cracks in the jacket, animal gnawing, or evidence of UV degradation. Maybe water entered from a breach or the cable got wrenched during the storm.
These conditions typically begin due to inclement weather, rodent damage, or insufficient slack in the cable laydown. Having a kit with extra connectors, cleaning tools and weatherproof tape easily allows you to get things repaired quickly.
Proactive Mitigation Strategies
For cables that need to be more fire-resistant, use LSZH jackets, and choose cable routes that avoid their exposure to aggressive chemicals or extreme heat.
Until they are installed, store cables on barger reels in covered, dry cattle sheds or other secure locations. Place warning signs when appropriate, and employ AOCs in areas with a lot of traffic to maintain higher speeds and reduce signal degradation.
Estimating Realistic Cable Lifespan
It is no secret that outdoor fiber can last 20 years or more if properly maintained. Be mindful of the local weather conditions, soil conditions, and how deep you lay or distance you hang the cable.
Ensure long-term upgrades are possible by monitoring the age of cables and maintaining an inventory of every repair made.
Conclusion
Choosing the best outdoor fiber optic cable has a tangible impact on day-to-day performance. Quality cable will be able to withstand heavy rains, full sun exposure, high winds, and even dirt with ease. Ruggedly tough cable minimizes mistakes and helps outdoor fun or work proceed uninterrupted. Splurging on durable cable upfront pays off in cost and effort further down the line. I look for products with water blocking layers, hard outer jackets and hard fibers. For residential installations, agricultural applications, or urban aerial runs, each location presents its unique challenges. Imagine crowded city streets or expansive prairies. My approach is simple tools, simple steps and clean installs. Cable checks prevent wear before it nips. If you crave consistency and desire minimal headaches in your installation, choose proven brands and intelligent maintenance. If you’ve got questions, we’ve got answers. Contact us and let’s discuss what you need.
Frequently Asked Questions
What makes a fiber optic cable suitable for outdoor use?
These outdoor rated fiber optic cables have double jackets, water-blocking tapes and ripcords, and UV resistant properties. These design elements guard the cable against moisture ingress, ultraviolet light, and temperature fluctuations, providing dependable performance in outdoor environments.
How do I know which outdoor fiber cable type to choose?
Select according to your installation environment. Direct burial cables have an internal resistance of harsh soil and moisture. Aerial cables withstand environmental factors like wind and weather. Duct cables are ideal for runs in conduit. Consider the installation environment. Always choose a cable that best fits your installation environment.
Why is cable robustness crucial for outdoor installations?
Rugged, environmental outdoor cables protect from weather extremes, wildlife and rodents, as well as UV damage and physical abrasion. This all results in decreased failures and less downtime, which in turn saves you time and money in the long run.
What installation method is best for outdoor fiber optic cable?
Direct burial is the most efficient method for installing fiber on open ground. Using conduit can be another layer of protection, especially in high-traffic areas. Aerial installation is ideal for spanning poles. Choose the installation approach that best suits your site’s configuration and hazards.
How does outdoor fiber cable cost compare to indoor cable?
Outdoor cables will be more expensive because of rugged construction and protective features. The additional investment stops the need for repairs and eventual outages, providing greater long-term value.
What are essential maintenance tips for outdoor fiber cables?
Inspect cables periodically for any possible damage or wear, regularly clean connectors, and provide a good sealing to avoid corrosion. Make timely repairs when something is out of order, jump on it and fix it to avoid deteriorating signal and expensive outages.
How can I extend the lifespan of my outdoor fiber optic cable?
Install with quality materials, best installation practices, and routine inspections in mind. Protective measures such as conduit and proper grounding contribute to better cable longevity.