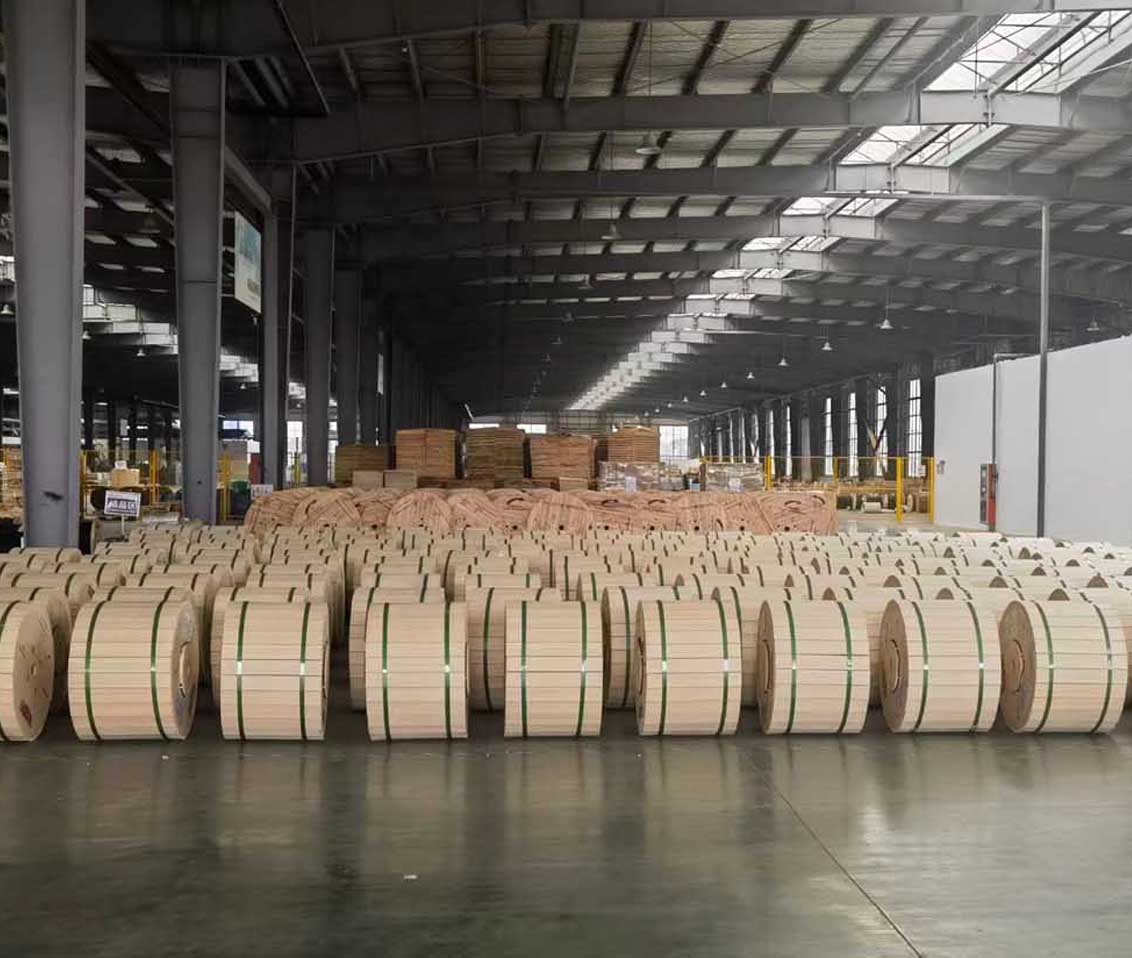
 Optical Fiber
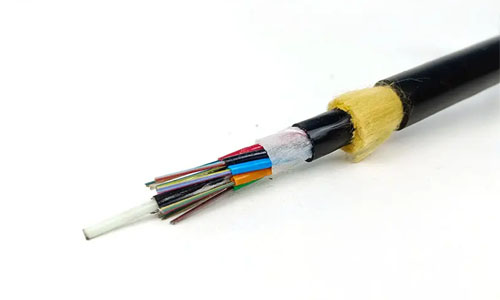 ADSS Fiber Optic Cable
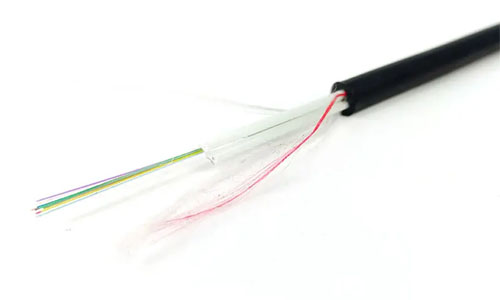 ASU Fiber Optic Cable
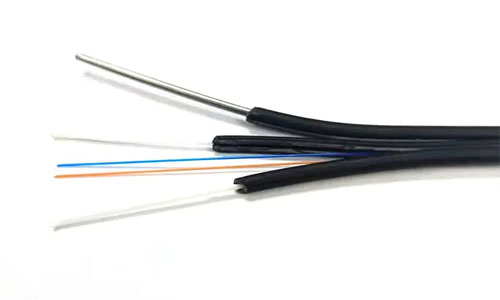 FTTH Fiber Optic Cable
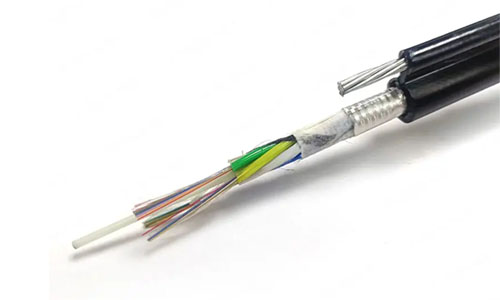 Figure 8 Fiber Optic Cable
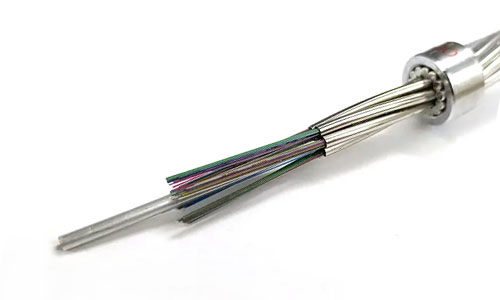 OPGW Fiber Optic Cable
 Coaxial Cable
 Ethernet Cable
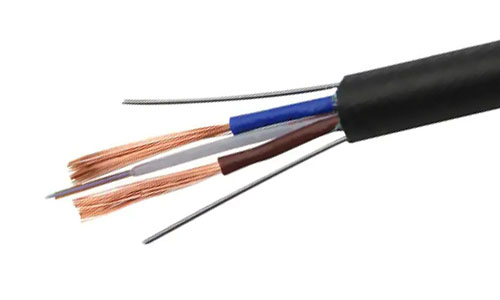 Photoelectric Composite Fiber Optic Cable
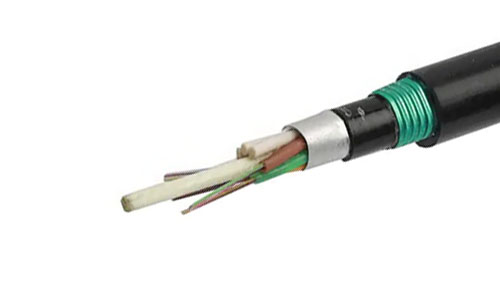 Underground & Pipeline Fiber Optic Cable
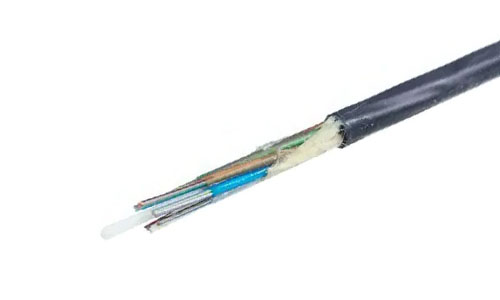 Air-Blown Micro Fiber Optic Cable
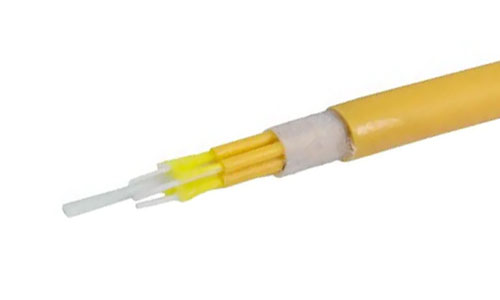 Indoor Fiber Optic Cable
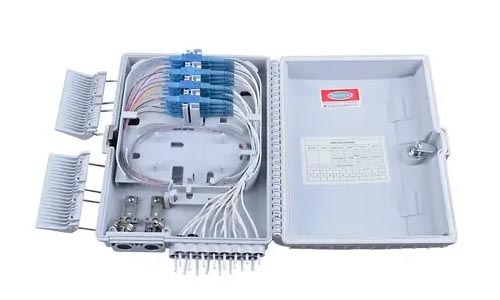 Fiber Optic Distribution Box
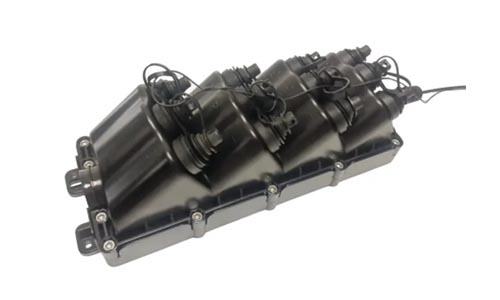 Multiport Service Termina Box
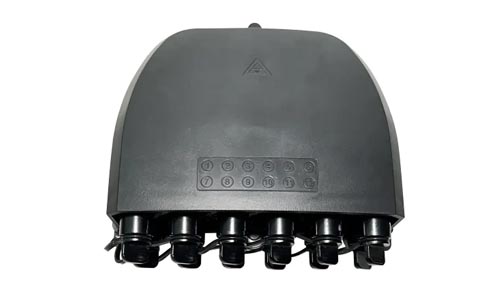 Fiber Optical Terminal Box
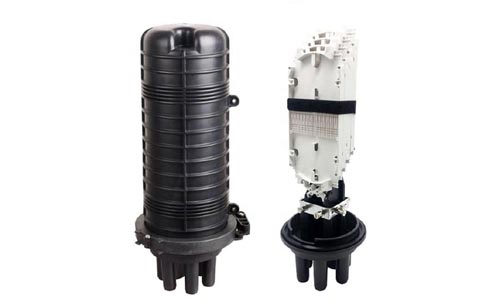 Fiber Optic Splice Closure
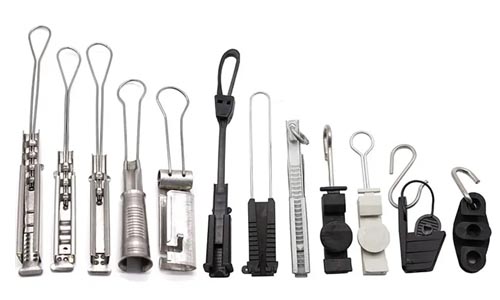 Fiber Optic Clamps
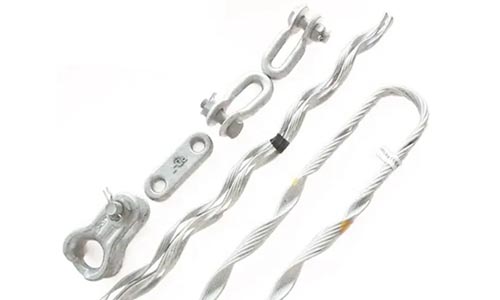 Fiber Optic Cable Fittings
 ADSS Fiber Cable
 ASU Fiber Cable
 OPGW Fiber Cable
 FTTH Fiber Cable
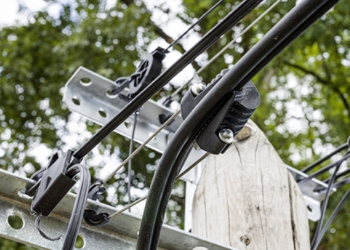 Figure 8 Fiber Cable
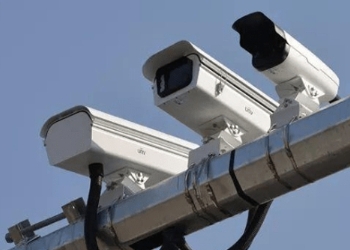 Photoelectric Composite Fiber Cable
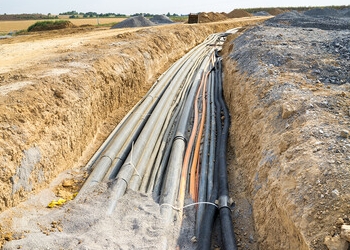 Underground & Pipeline Fiber Cable
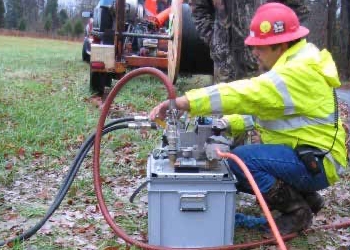 Air-Blown Micro Fiber Cable
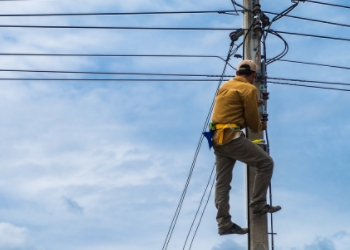 Aerial Fiber Cable
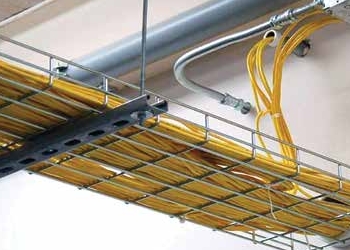 Indoor Fiber Cable
 Fiber Optical Terminal Box
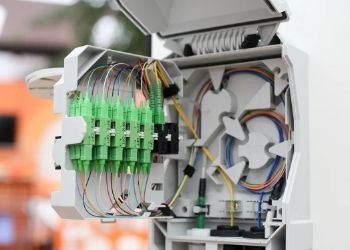 Fiber Optic Distribution Box
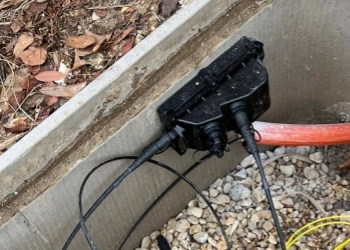 Multiport Service Termina Box
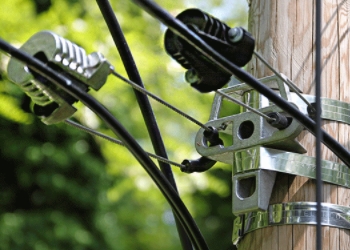 Fiber Optic Clamps
 About Us
 Our Team
 History
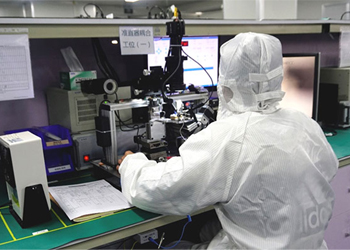 R&D Strength
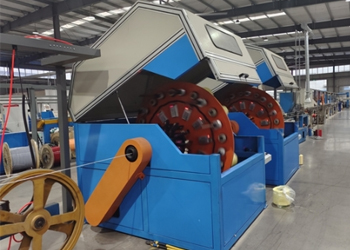 Production Base
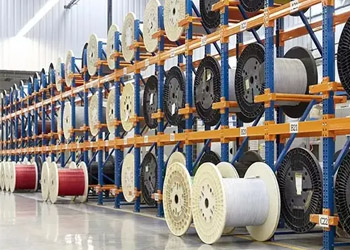 Warehouse & Logistics
 Quality
 FAQs
FAQsFiber Optic Cable Termination
Termination fiber optic cable involves attaching connectors to the ends of the cables to allow them to be connected to other fiber optic equipment. Here is a step-by-step guide to terminating fiber optic cables:
Tools and Materials Needed
Fiber optic connectors (e.g., SC, LC, ST, etc.)
Fiber optic cable (single-mode or multi-mode)
Fiber optic cleaver
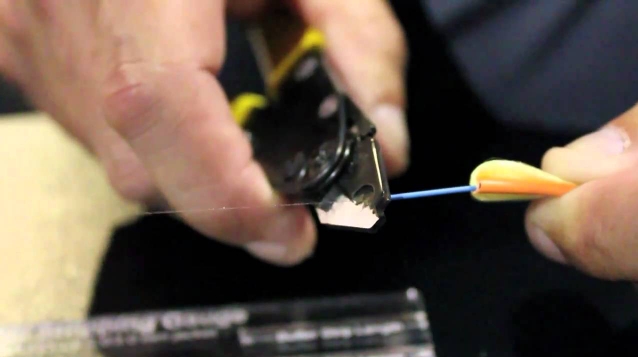
Fiber optic stripper
Crimping tool (if required by the connector type)
Polishing film (various grits)
Epoxy or anaerobic adhesive (if required by the connector type)
Curing oven (if using epoxy that needs curing)
Cleaning materials (isopropyl alcohol, lint-free wipes)
Visual fault locator (VFL) or fiber optic inspection scope
Step-by-Step Termination Process
Prepare the Cable
Measure and cut the fiber optic cable to the desired length.
Strip the outer jacket of the cable carefully, exposing the inner fibers.
Remove any protective layers, such as Kevlar, to reveal the bare fibers. Use the appropriate tools to avoid damaging the fibers.
Strip the Fiber
Using a fiber optic stripper, remove the coating from the fiber itself. Typically, you'll strip about 1-1.5 inches (25-38mm) of the coating.
Be cautious to avoid breaking the delicate fiber.
Clean the Fiber
Clean the bare fiber with isopropyl alcohol and a lint-free wipe to remove any residue or dust.
Ensure the fiber is completely clean to avoid any contamination during the termination process.
Cleave the Fiber
Use a fiber optic cleaver to precisely cut the fiber. The cleave should be smooth and at a right angle to the fiber.
Prepare the Connector
If using epoxy, inject the adhesive into the connector ferrule.
Insert the cleaved fiber into the connector until it touches the back of the ferrule.
If using an adhesive that requires curing, place the connector in the curing oven as per the manufacturer's instructions.
Crimp the Connector (if applicable)
Some connectors require crimping. Use the appropriate crimping tool to secure the connector to the fiber.
Ensure the crimp is firm but not so tight that it damages the fiber.
Polish the Connector
Once the adhesive is cured, polish the end of the connector using polishing film.
Start with a coarse grit and progress to finer grits. Polish in a figure-eight pattern to ensure a smooth finish.
Inspect the polished connector end with a fiber optic inspection scope to ensure it is free from scratches and defects.
Test the Connection
Use a visual fault locator (VFL) or other testing equipment to check the quality of the termination.
Ensure there is no excessive loss or reflection at the connector.
Tips for Successful Termination Fiber Optic Cable
Always follow the connector manufacturer's instructions closely.
Work in a clean environment to minimize contamination.
Handle fibers with care to avoid damage.
Regularly inspect and clean your tools to ensure they are in good condition.
By following these steps, you can effectively terminate fiber optic cables and ensure reliable, high-performance connections.